Win Collection Nail Polish Labels - Label Ideas
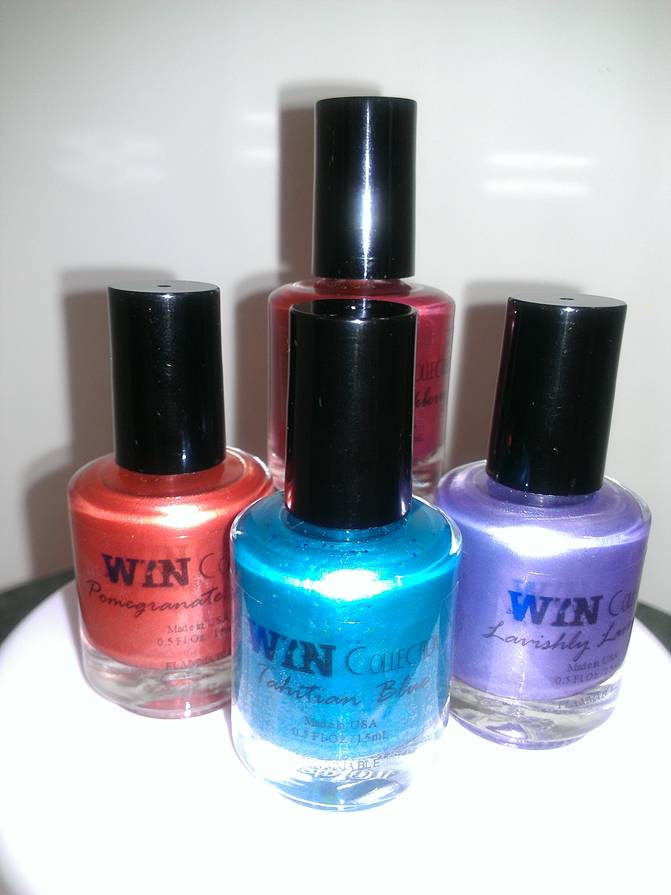
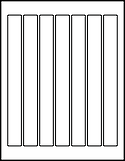
by Karen JenkinsThese labels ROCK! I had so much fun making my own nail polishes. One sheet allowed me to do 42 bottles. I was really impressed with how great they turned out. I felt confident in presenting my finished products to the individuals that I made them for.
They were very easy to adhere to the glass. Once my polishes were mixed in the bottles....I sprayed each one down with some alcohol...I wiped off the excess with a paper towel and allowed them to properly dry. The labels went on without any problems and the rest is history. Whatever you use these labels for....Be sure to clean off the surface with alcohol and a (lint or dust free) cloth or paper towel. Please allow them time to dry before affixing them. If you follow those simple instructions.....TRUST ME...You'll love the end results! Try printing on a plain piece of white paper and place the printed copy over the label under a light. This will allow you to see if your graphics and text made it inside of the guidelines. Also using the plain paper will prevent you from wasting your labels. You can always make the adjustments by testing it out with more white paper.....But once they are printed and you have made mistakes....Unfortunately.....That could be a costly one. <br/><br/>Take advantage of being a preferred customer with Online labels and use their FREE Maestro Online Design Software. Save the file as a PDF and print as many test pages until you get it right. Another thing to be mindful of is PRINTING a PDF file. You first need some type of PDF file reader such as ADOBE on your PC in order to open the saved files. Then make certain that you have the correct printer settings on...For instance the margins of a whole page, landscape or portrait layout. Again whatever you use these or any of their fabulous online labels for......Just.... BE CREATIVE! BE ORIGINAL! BE UNIQUE! #HappyCreating!!


