Should You Use Milk to Stick Your Bottle Labels?
If you make your own beer or wine at home, a custom designed label is the next step in establishing your brand identity. While these are easily accomplished through custom printed labels, we've noticed that some more crafty brewers use a little-known technique involving milk. Yes, milk. Why, you might ask? For brewers that reuse their bottles, there's little residue leftover with this process.
Interestingly, the protein in milk has long been used as a powerful bonding agent. It was actually the basis behind Elmer's® Glue in its early years (thus, the cow mascot). We decided to give this method a try and see if it actually works well. Below is our process and the long-awaited results.
The Milk Method: 5 Easy Steps
After printing your intended design on traditional printer paper, follow these steps to make it adhesive!
Step 1
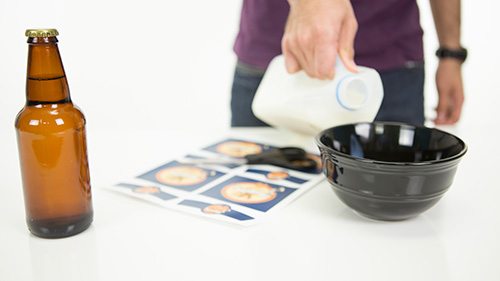
Pour a small amount of milk into a dish or cup. You'll want to use whole (or 2%) milk as it contains the components needed for bonding.
Step 2
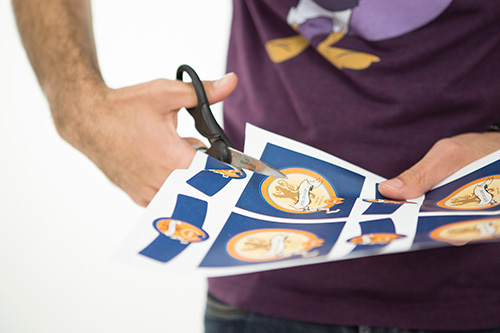
Carefully cut your label design out with scissors.
Step 3
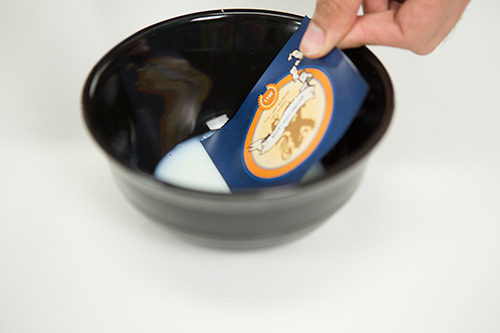
Lightly apply the milk across the entire back of the label. It's important to use a small amount of milk only, adding too much can make the paper wrinkle and smell awful. It's milk after all!
Editor's Note: If you think dipping the whole bottle in milk will be easier than only the back side of your design, think again. Doing it this way would make the entire bottle sticky!
Step 4
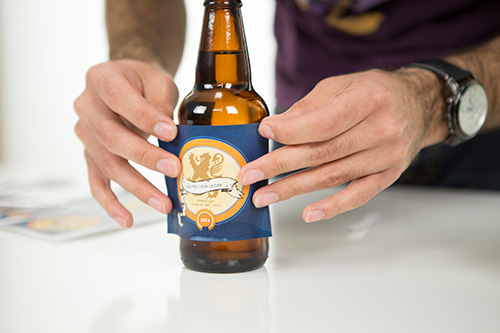
Using steady hands, place the label around the seam of the bottle or use the seam as a straight edge.
Step 5
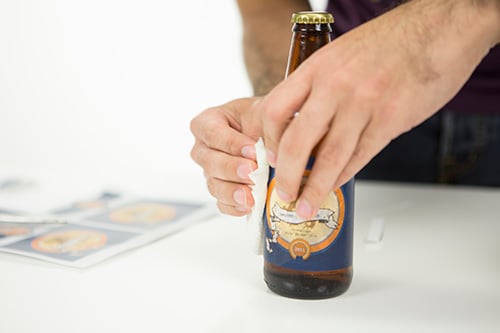
Smooth down your newly applied label with a paper towel to remove any bubbles and wipe off excess milk.
Conclusion
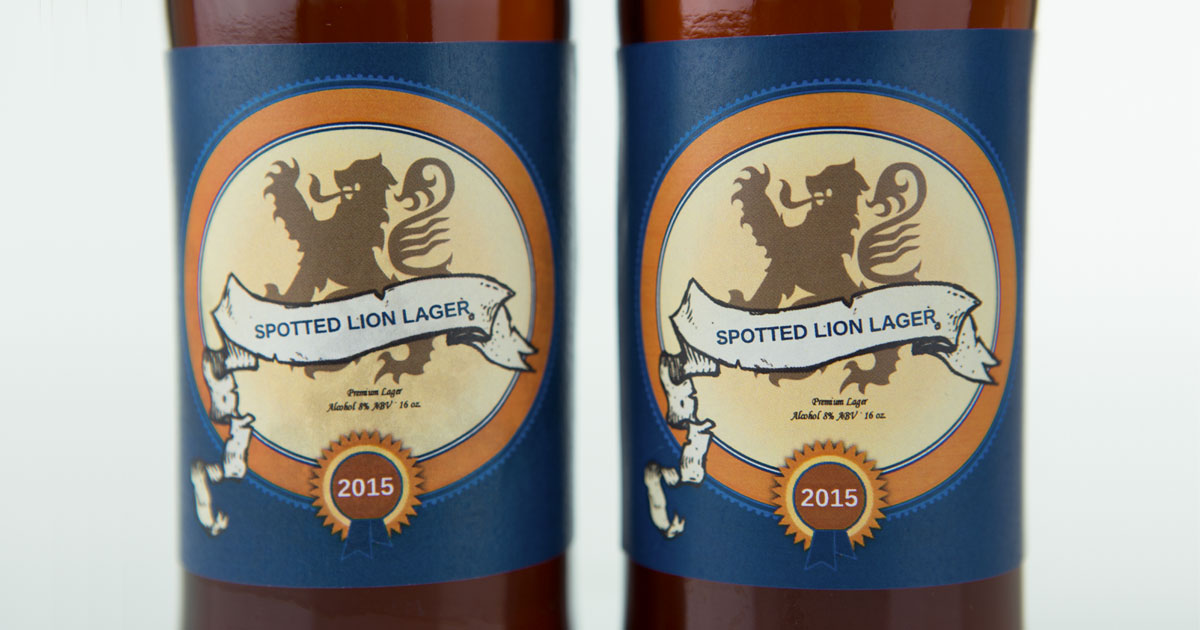 Comparison of paper stuck with milk (left) versus an adhesive label (right).
Much to our surprise, using milk to stick paper to your beer bottles does work. And as you can probably tell from the image above, there isn't much of a visual difference between the two. Having said that, it might not be your best option. The time wasted during this precise and labor-intensive process will really begin to add up when you're labeling a large amount of bottles.
Not to mention the accumulated cost of all of the milk you'll be using! And, have you considered how the milk might spoil and produce a rotten odor or unstick if left in the heat / out of a fridge? Lastly, what happens when the label gets wet from condensation, ice in a cooler, or moisture?
With labels, it's relatively easy and painless to print, remove the liner, and apply to your bottle. No mess, no expiration dates to worry about, and no runny ink or degrading paper if it comes into contact with moisture or liquids.
If you're drawn to the milk method for its ease of removal, you have other options. OnlineLabels.com carries removable labels. They adhere when you need them to yet still remove cleanly when you don't.
We also offer weatherproof labels if you're looking for a more permanent, waterproof solution. Whichever material you're after, browse our selection of virtually any size, material, and shape beer bottle labels. These are perfect for personalizing your product and can be used with your printer at home or our professional-grade, in-house printer with custom printed labels.
If you're dealing with leftover adhesive from other products, check out our How to Remove Labels article for more details and processes.


