DIY Prompted Drawing Journal
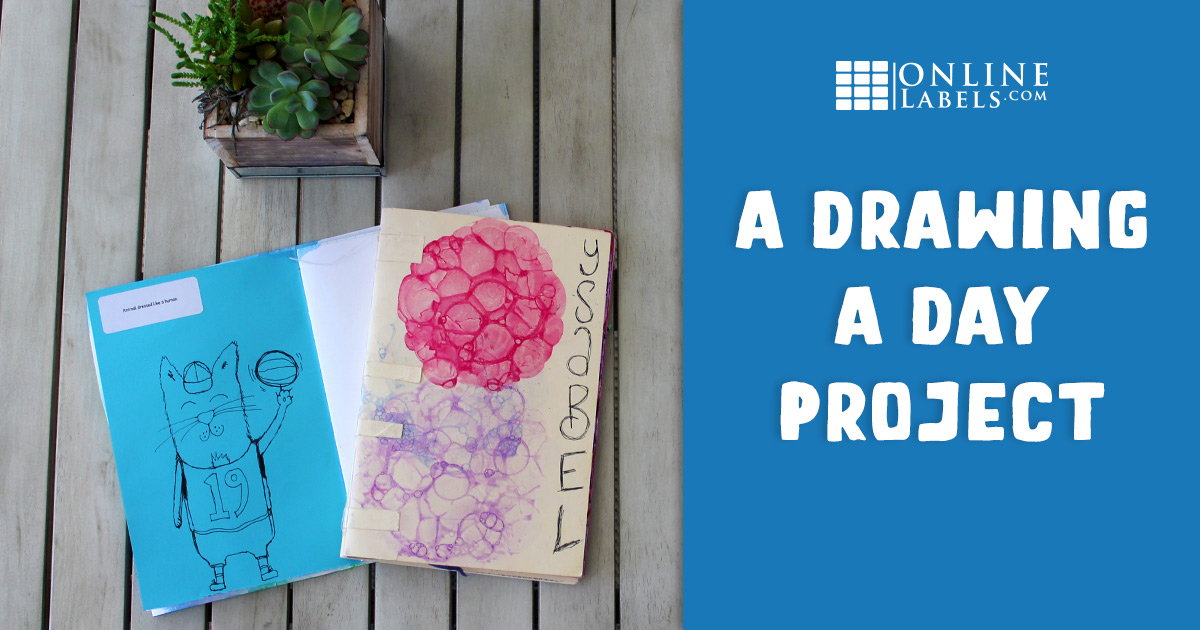
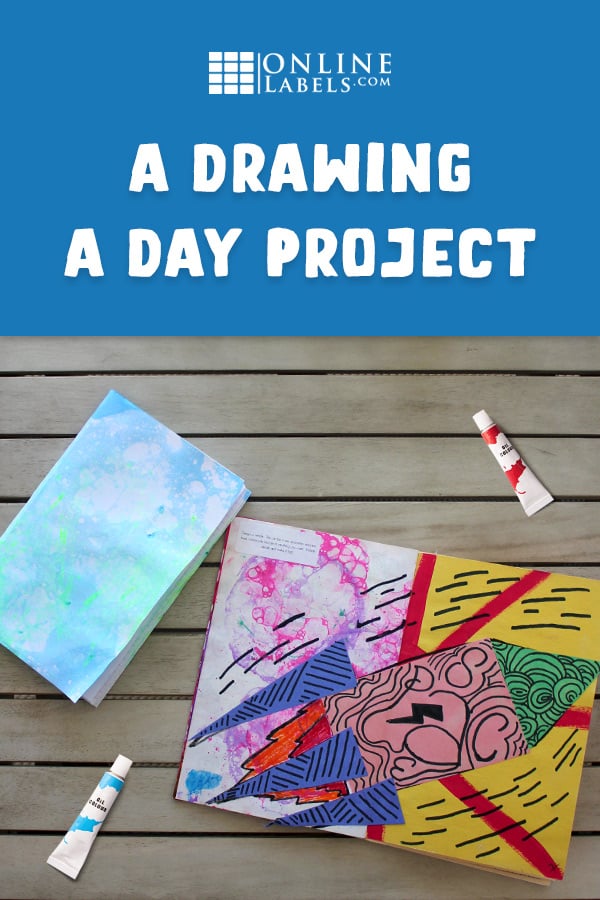
A drawing journal is an amazing way to create something very unique and personable. Whether you're a teacher or parent, this DIY journal project is great for when the kids are stuck at home, going on summer vacation, or looking for something to pass the time. And it'll be neat for them to look back on in years to come.
Supplies
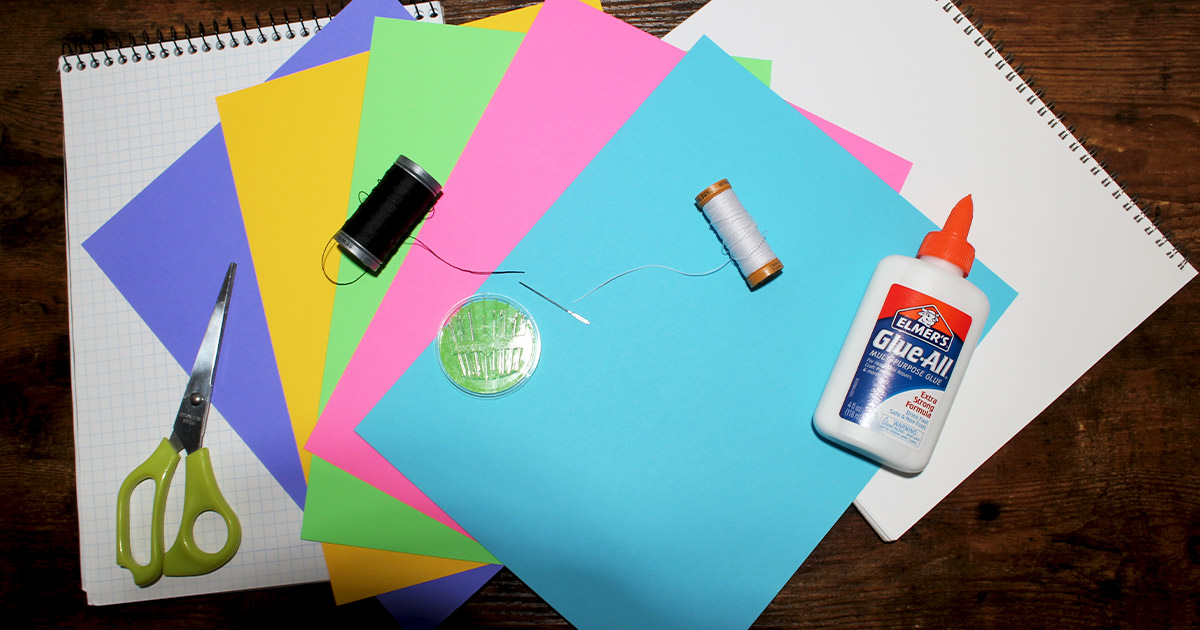
To construct this prompted art journal, gather a sturdy material for the cover – we recommend cardstock. Printer paper, construction paper, sketch paper, or even graph paper will work for the inside pages. Feel free to get creative and pick different colors for each page.
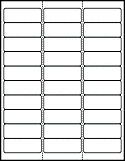
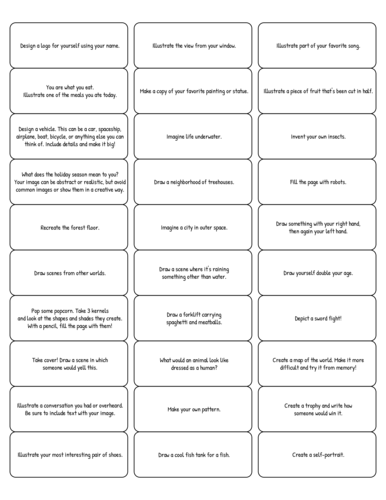
To bind the book together, you'll need a sewing needle and thread, scissors, and glue. In addition, you'll need OL875WX and the free printable label template with drawing prompts (both shown below).
Instructions
Step 1 – Fold the paper sheets in half hamburger style.
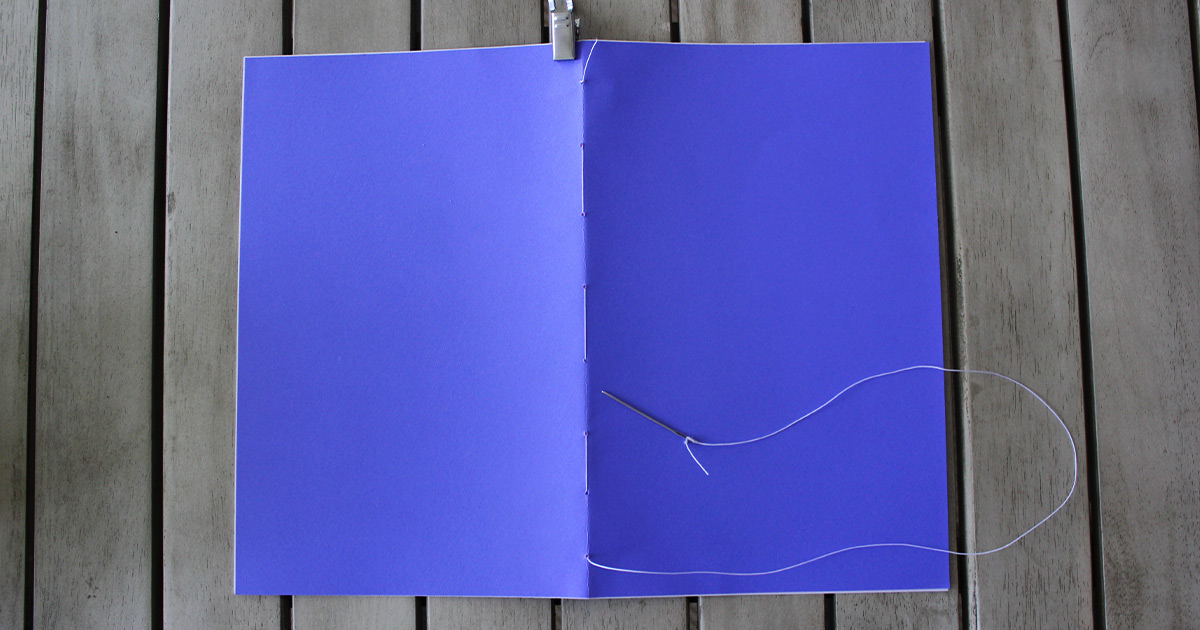
Step 2 – Using your needle, poke holes down the spine of the folded papers every ½ inch. Thread about 2 feet of string through your needle and tie a knot at the end. Insert your needle and thread from the outside spine and work your way through the holes. Once you reach the end, turn around and go through the opposite holes until you reach the top. Tie off your string and admire your kettle stitch.
Step 3 – Once you're done binding the pages together, lightly add glue on the spine to reinforce the journal.
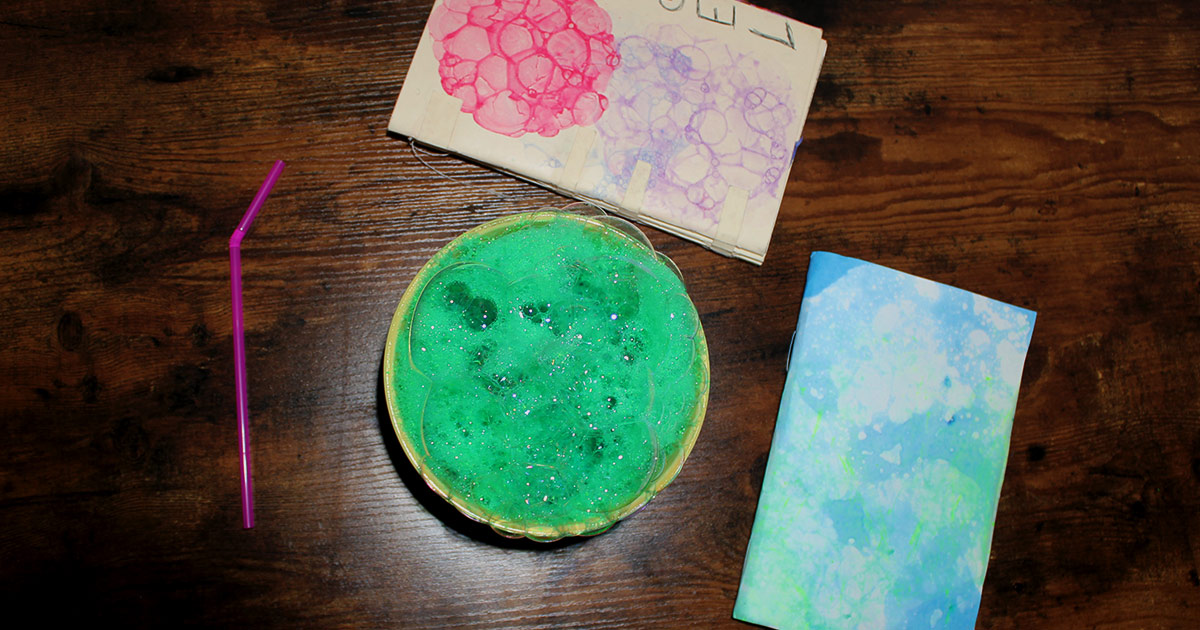
Step 4 – If you're gifting this journal to your child or students, continue to step 5. If you're completing this craft with your child, it's time to design the cover. You can decorate your cover however you want but for this tutorial, we used a fun method called bubble art. Mix acrylic paint in a bowl with dish soap then add water and stir. Using a straw, blow into the bowl to create bubbles and stick your journal cover lightly onto the bubbles you created. They'll pop and make a fun bubble texture on the page.
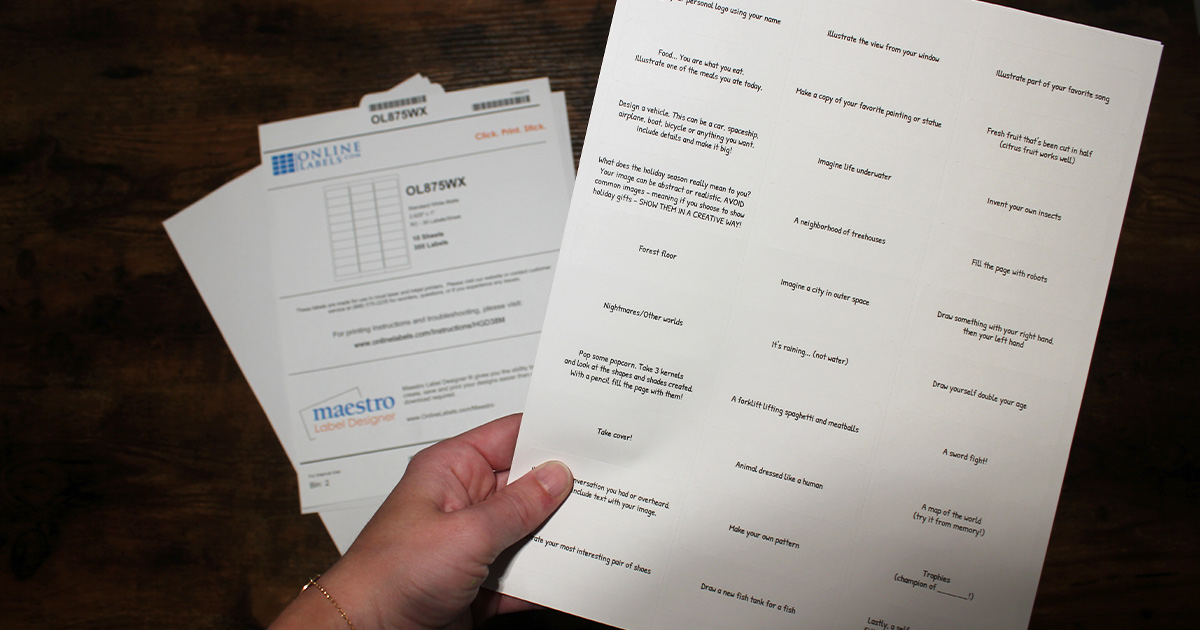
Step 5 – Open the free printable label template and customize it as you see fit. You can edit any or all of the drawing prompts to best reflect the age of your artist. Once you're satisfied with the content, download and print the template onto the label sheets using your home printer.
Step 6 – Apply each label to the top left corner of every page in the journal.
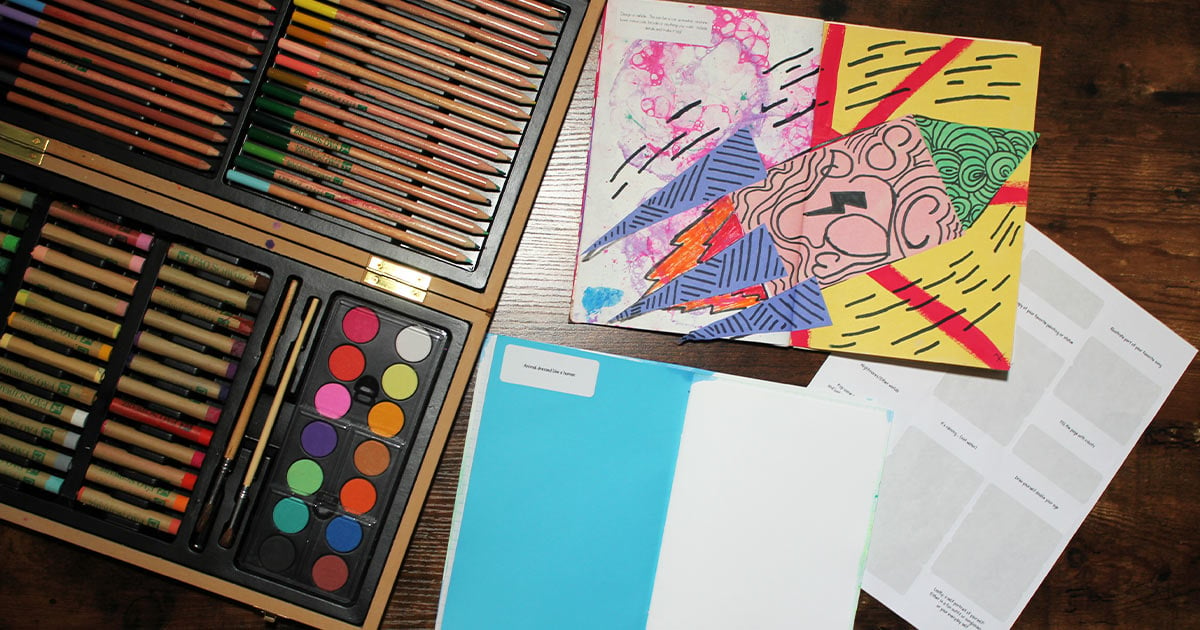
You are now free to gift this creativity-boosting project to someone special in your life. Combine with art supplies for the complete package!
Looking for more arts-and-crafts projects? Check out our summer activity guide for kids and families.
