How to Apply Labels
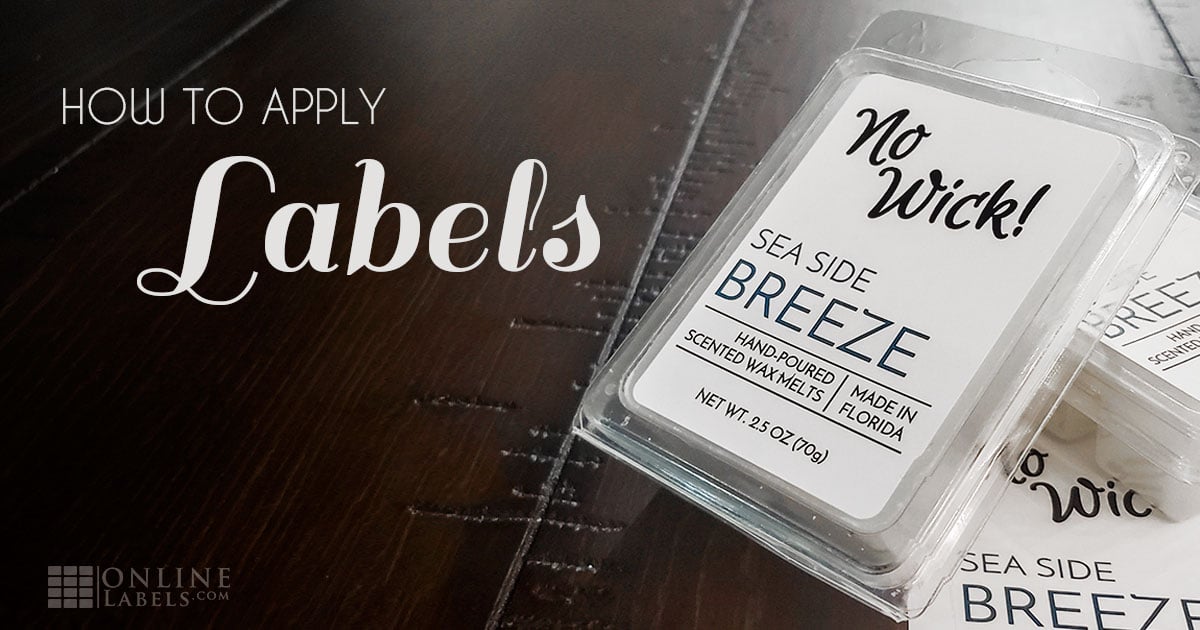
Designing the perfect label is only part of the process. The quality of your hand-label application can make or break your product. Consider the difference between a candle jar with a creased, crooked label and a centered, straight, smooth one. Which would you rather buy? Which would you price above the other?
To help keep your products top-notch, we've outlined our best tips to make application a breeze, so you end up with a perfectly labeled product every time.
Decide When to Label
Choose the best time to apply your labels during your production process – this is especially important if your product changes temperature.
Imagine the life of a candle. Hot wax gets poured into a jar where it cools. If you applied the label before pouring the wax, you could melt the adhesive. Yet with frozen foods, if you apply the label once it's already frozen, the surface is wet with frost and possibly too cold for adhesion.
Use your judgement to decide when temperatures have settled and what your application window looks like.
Prep Your Tools
Clean hands, tools, and work spaces are essential for success.
Scrub Your Area
Soon enough you'll be setting your clean labeling supplies on your tabletop or counter. A clean surface will ensure that your newly cleaned containers, and pristine label sheets, don't get dirty before application.
Wash Your Hands
Before you begin applying your labels, give your hands a good scrub. Your natural oils can interfere with the adhesive backing, causing them to lose their tack and unstick. You may not notice these effects in the short-term, but they'll become apparent with long-term use.
Clean Your Container
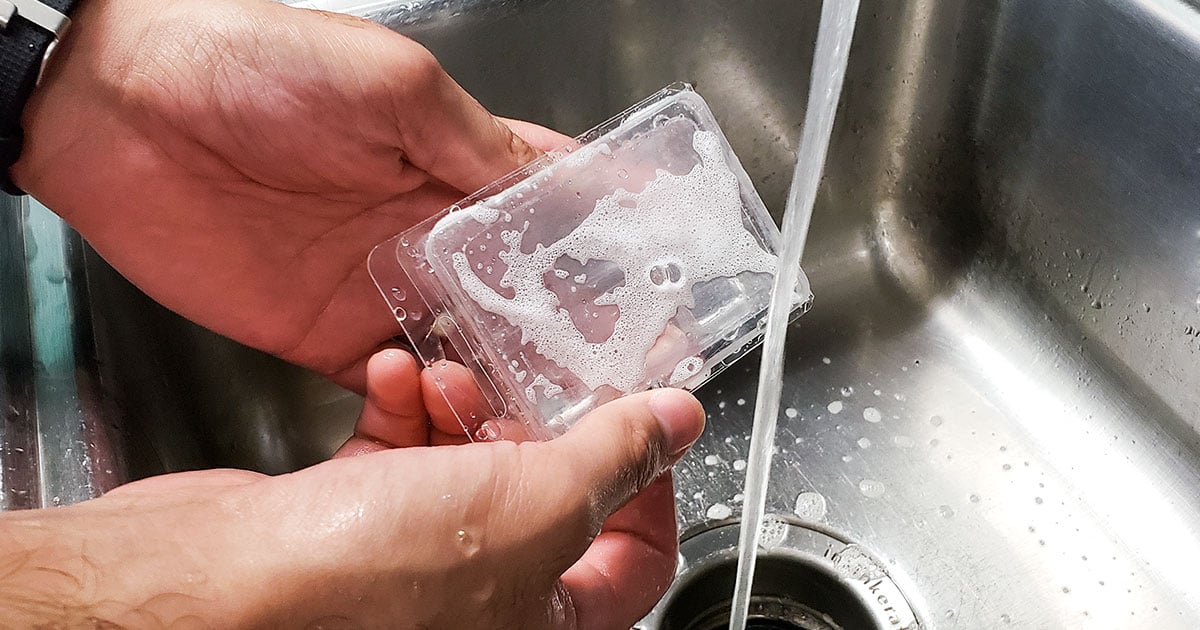
Your containers may still have dust, dirt, or particles on them from the finishing process used to create them. Labels bond best to a clean surface, so try washing your application surface with rubbing alcohol, all-purpose cleaning solution, or general soap and water.
Prime Difficult Surfaces
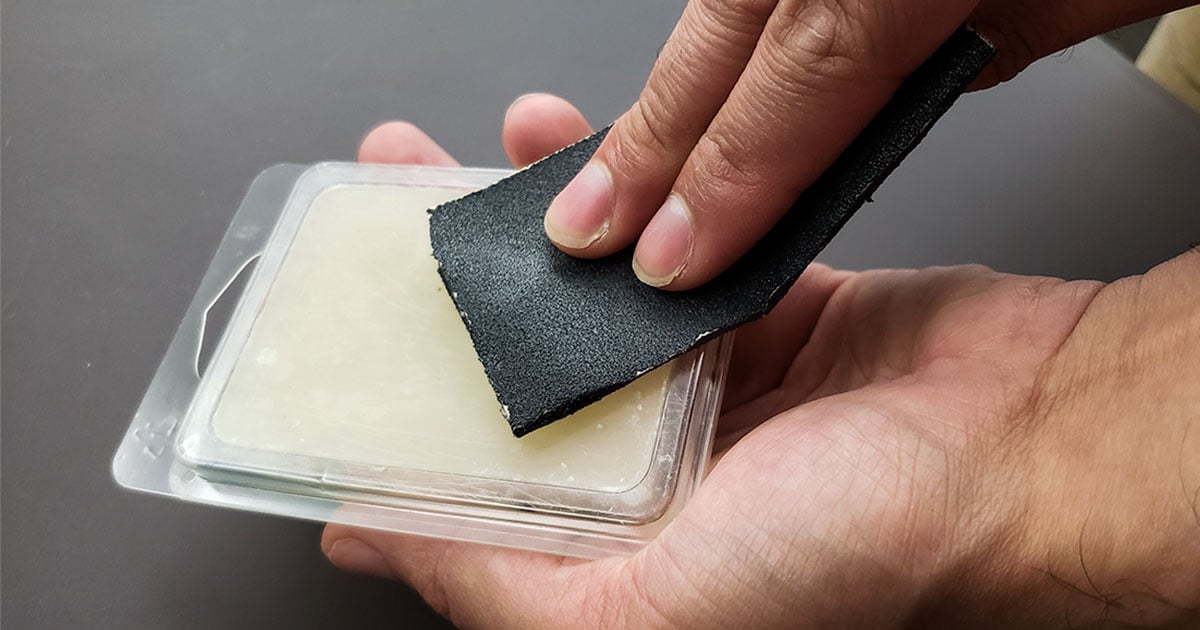
Certain surfaces can be more difficult to label than others. Surface material and object shape can be especially impactful. Think about how differently labels stick to plastic versus glass, for example.
To overcome these peeling problems when labeling, you might need to add surface texture. Really smooth materials may lack the texture for the adhesive to latch onto. Use fine sandpaper or emery cloth to lightly rub the surface.
If that doesn't fully help, your surface's energy could be affecting how well the adhesive sticks. If a surface is high energy, it attracts adhesive and maintains a strong hold. Glass, tin, and copper are high-energy surfaces.
If a surface is low energy, it is more inclined to repel adhesive. Poly plastics and Teflon® are low energy surfaces. They have a sleek finish and are highly flexible. making it difficult for labels to bond. This means a stronger adhesive is required to maintain the same hold. Therefore, you may need to upgrade your labels. Our waterproof labels feature stronger adhesives and could be a better option. Learn more about surface energy.
Choose A Model
To maintain consistency between products, keep an example of a perfect application within eyesight. Having a finished product to reference is important. Without it, you may vary the placement.
You can also make or find a reference point on your containers to keep things consistent.
Apply Your Label
Using proper technique to apply your labels can make centering and straightening much easier.
Stabilize Your Container
There are some unique challenges in label application when you're working with rounded objects. To keep it from rolling or turning during application, you'll want to place your container in a position where it won't roll. We recommend holding it in your lap. You can also try placing it in an egg carton or between books, for example.
Pull Away From the Liner
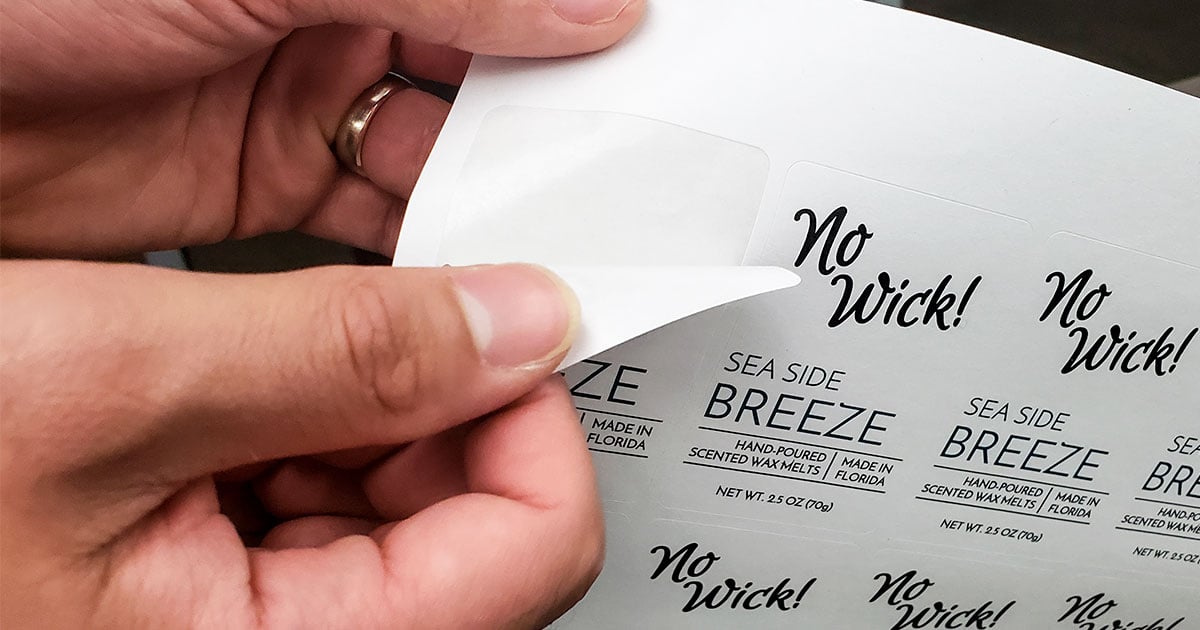
The best way to separate your labels from the non-adhesive backing is to pull the label. Grabbing the label and peeling –versus holding the label and pulling the backing – protects the integrity of the label facestock. This reduces your risk of curling.
Start in the Middle
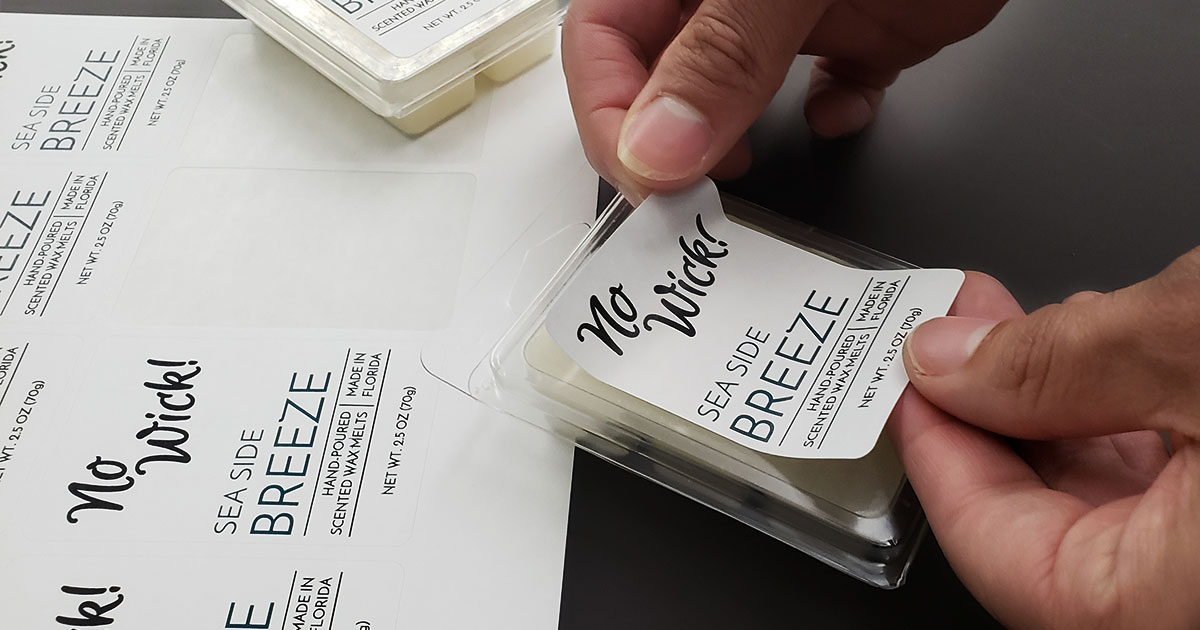
Stick from the center and smooth it out. Apply the label starting in the middle, then move your fingers outward from the center toward the edges. This practice is important for two reasons. First, it prevents creases from forming and works out trapped air bubbles. Second, certain container shapes can add a lot of pressure to your label.
With tightly-wound objects like lip balm tubes, starting from the center helps spread out and reduce some of that pressure.
Whatever you're labeling, we want to make the process a breeze. We hope the information above help you get your products out the door and into the hands of happy customers.
Questions? Brush up on more application tips or reach out to our customer service team. You can also check out finished product labels and customer recommendations in our Customer Ideas Gallery.


