How To Import Canva Designs Into Maestro Label Designer


Canva is a design platform that offers various templates and customization options, making it a favorite among designers for all skill levels. On the other hand, Maestro Label Designer specializes in creating precise printable labels. Together, users can efficiently merge creativity with functionality by learning how to transfer designs from Canva to Maestro Label Designer, ensuring their labels are aesthetically pleasing and professionally printed.
This guide will help you follow the steps to import your Canva creations into Maestro Label Designer, enabling you to combine the strengths of both platforms for your labeling needs.
Instructions for Canva
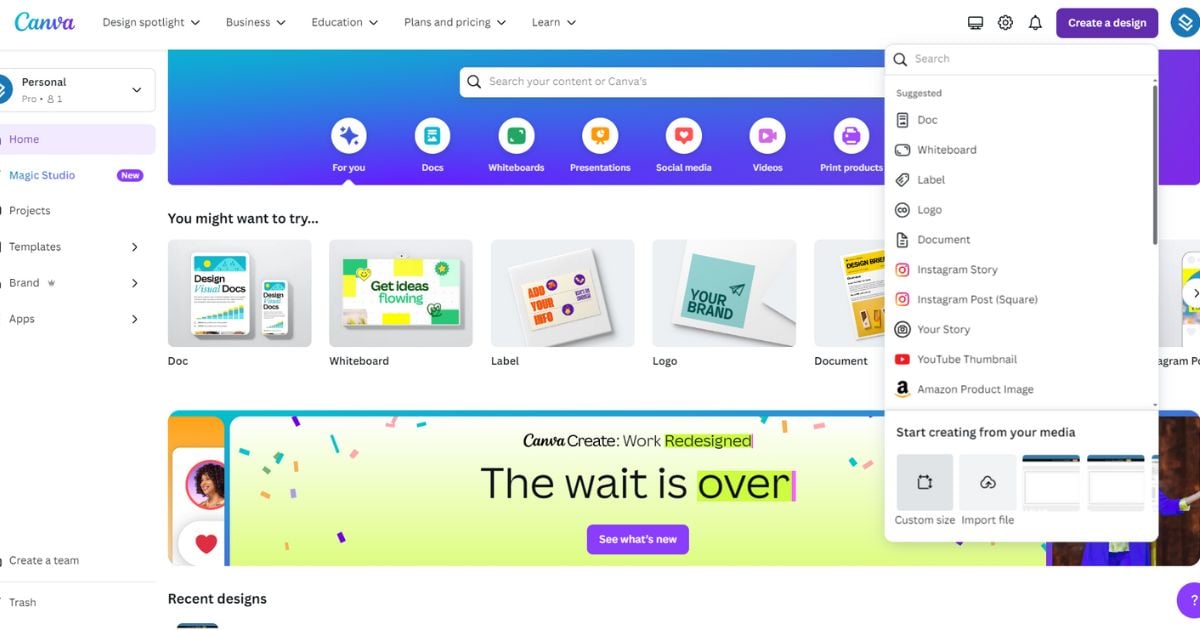
1. Open the Canva desktop and pick a size
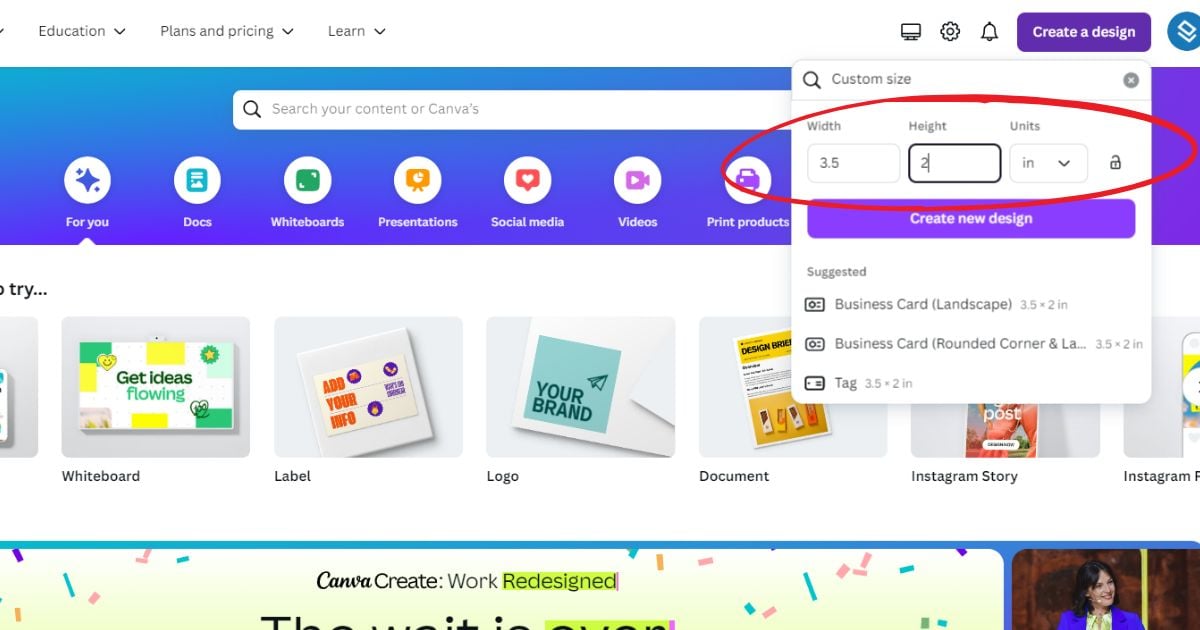
In your computer, open the Custom Size feature on the right corner of your Canva Workspace.
Then, change your label size to inches and set the dimensions for your label.
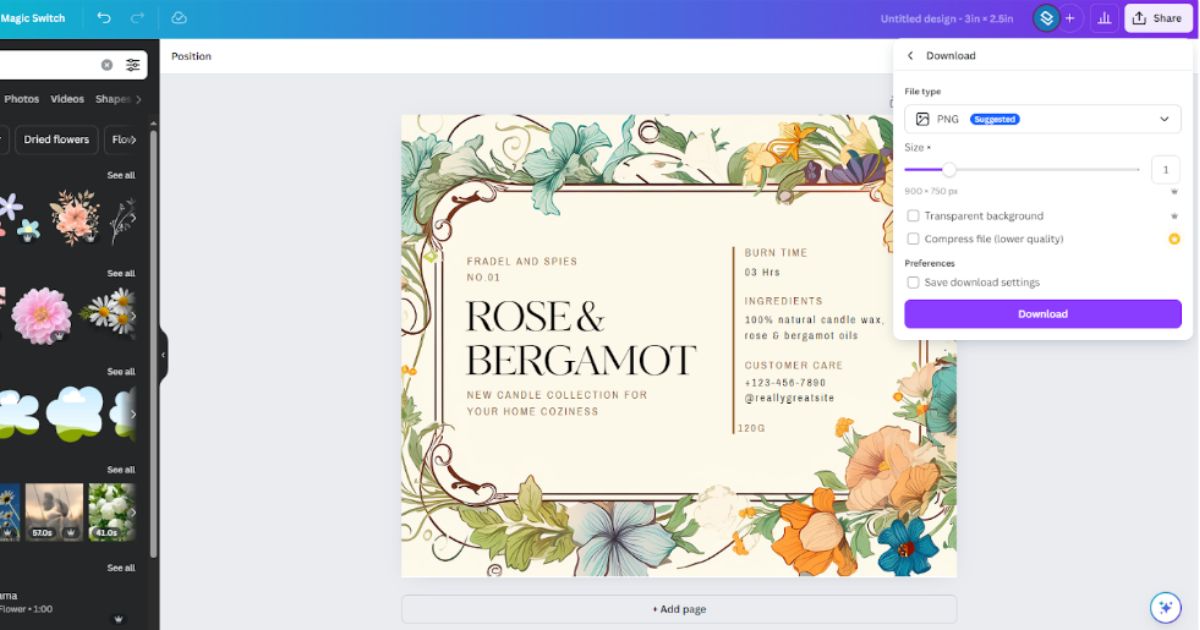
Design your label and download it (best file type)
After choosing and customizing a design for your label, name the file and download it in a PNG or JPG format.
Instructions for Maestro Label Designer
1. Create a new label
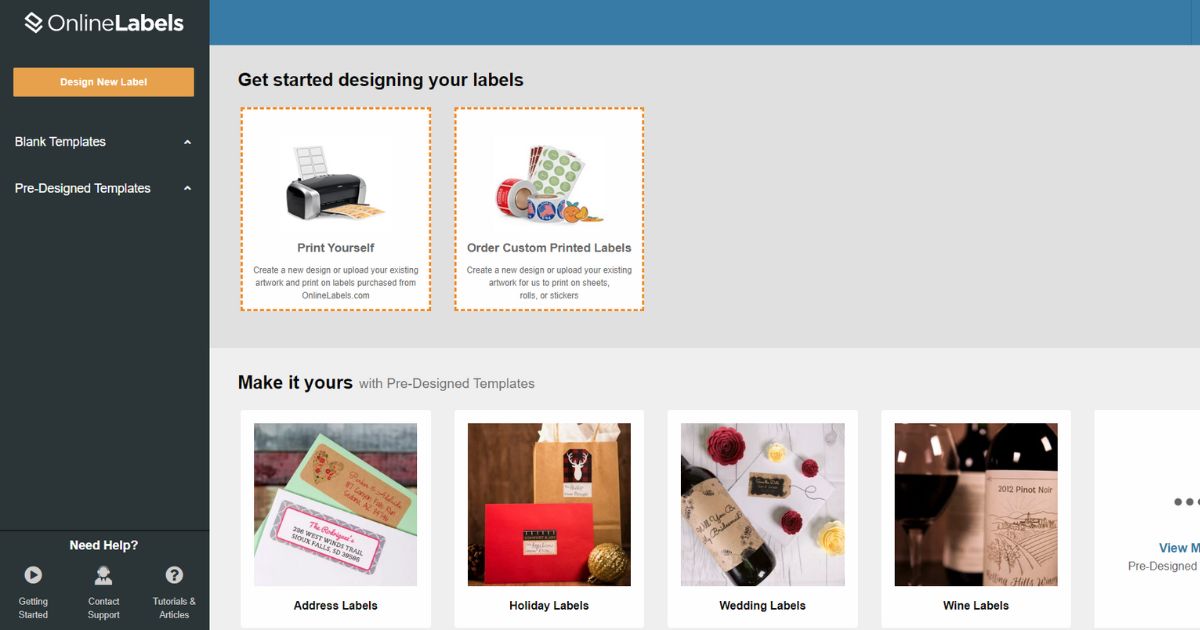
On the main page of Maestro Label Designer, click on Design New Label at the upper left corner of your screen.
2. Choose the size measurements and product
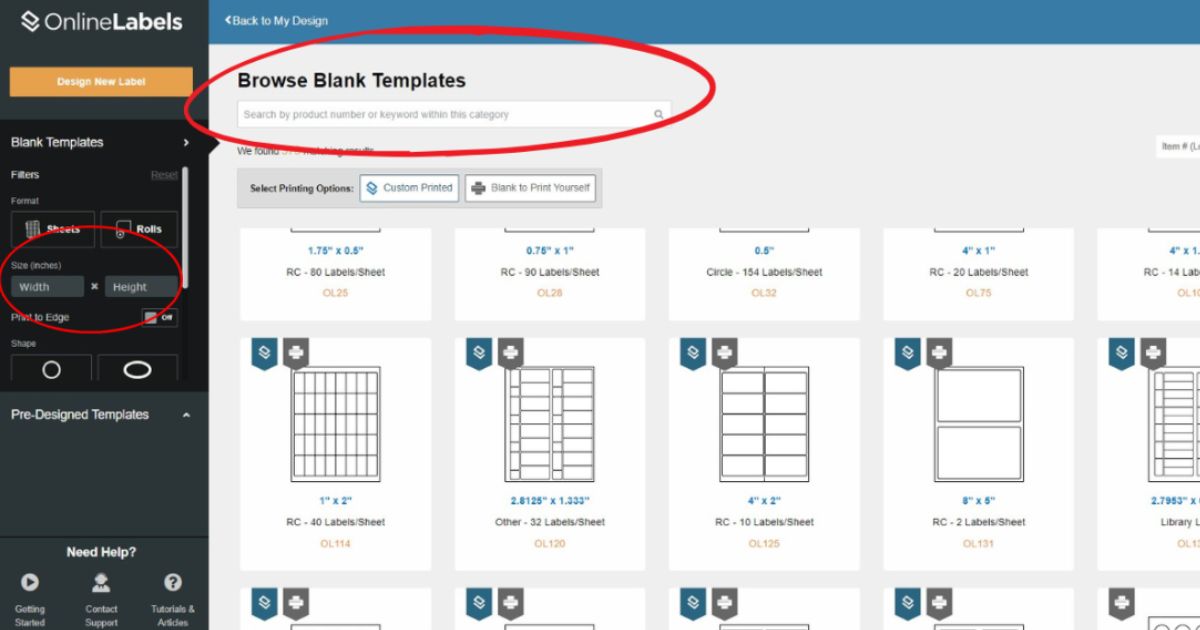
The left side of the screen allows you to browse the label size needed. Additionally, you can search for your specific product number.
3. Adjust the measurements
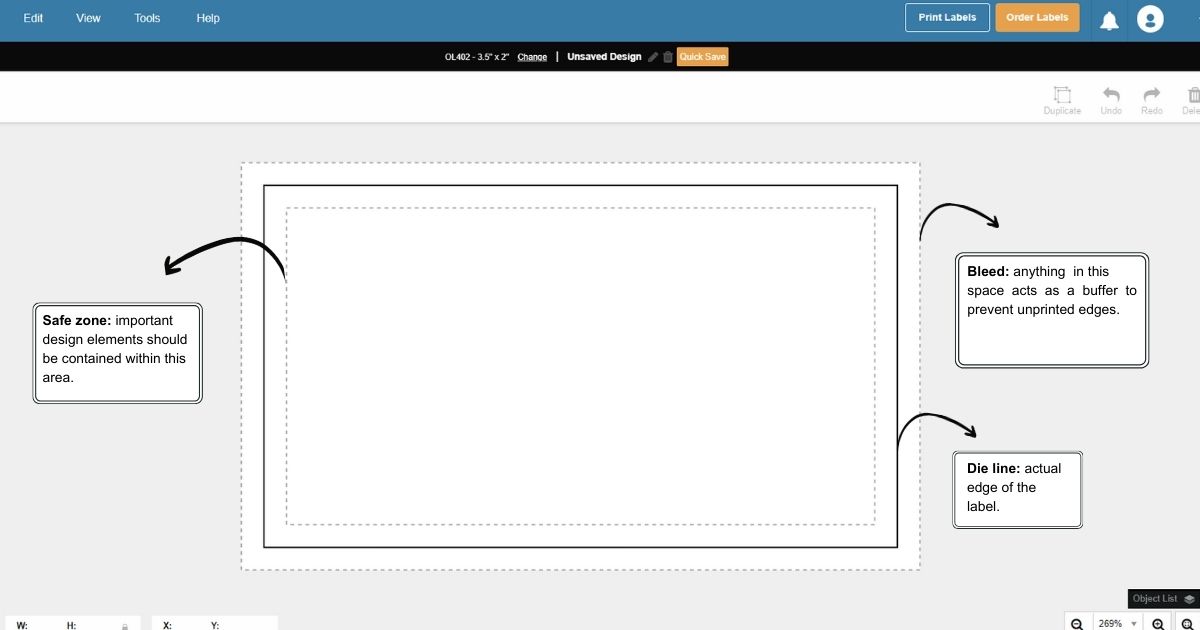
Once the product and sizes are selected, the page will show your chosen template on the screen. Each line represents a specific label part that will work either as an edge or a design guideline.
4. Upload your Canva design into Maestro Label Designer
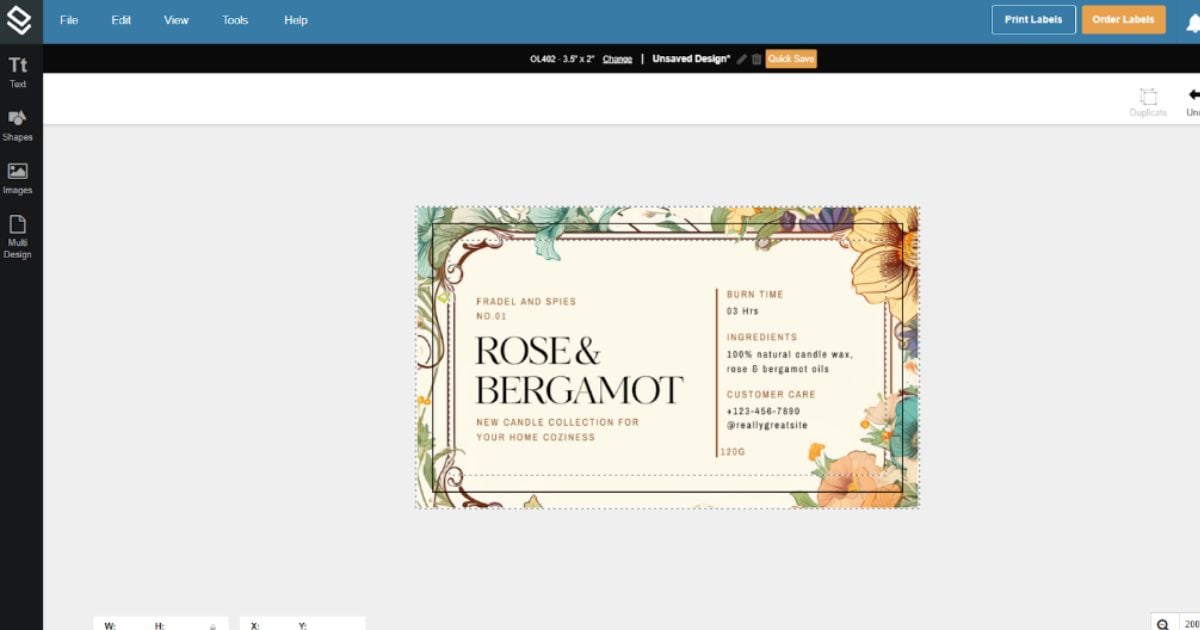
Go to Images in the left toolbar and press the Upload New Images button. This will allow you to open your Canva image and save it for future projects.

Move your image to your canvas and confirm that the bleed and safe zone requirements are met. Return to Canva to make any necessary adjustments to your design. For more information on this part, check out our guide on using bleed and safe zone tools.
5. How to order labels through OnlineLabels
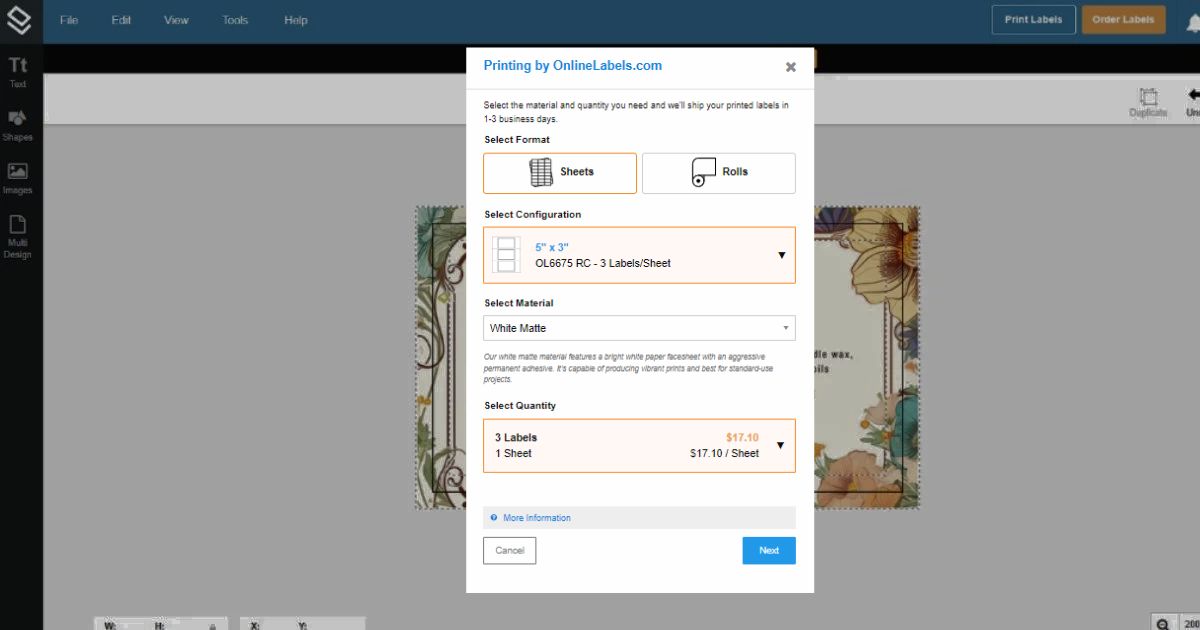
Maestro Label Designer offers two main ways of printing labels. If you want your labels printed with OnlineLabels, we offer a service that prints and delivers your designed labels.
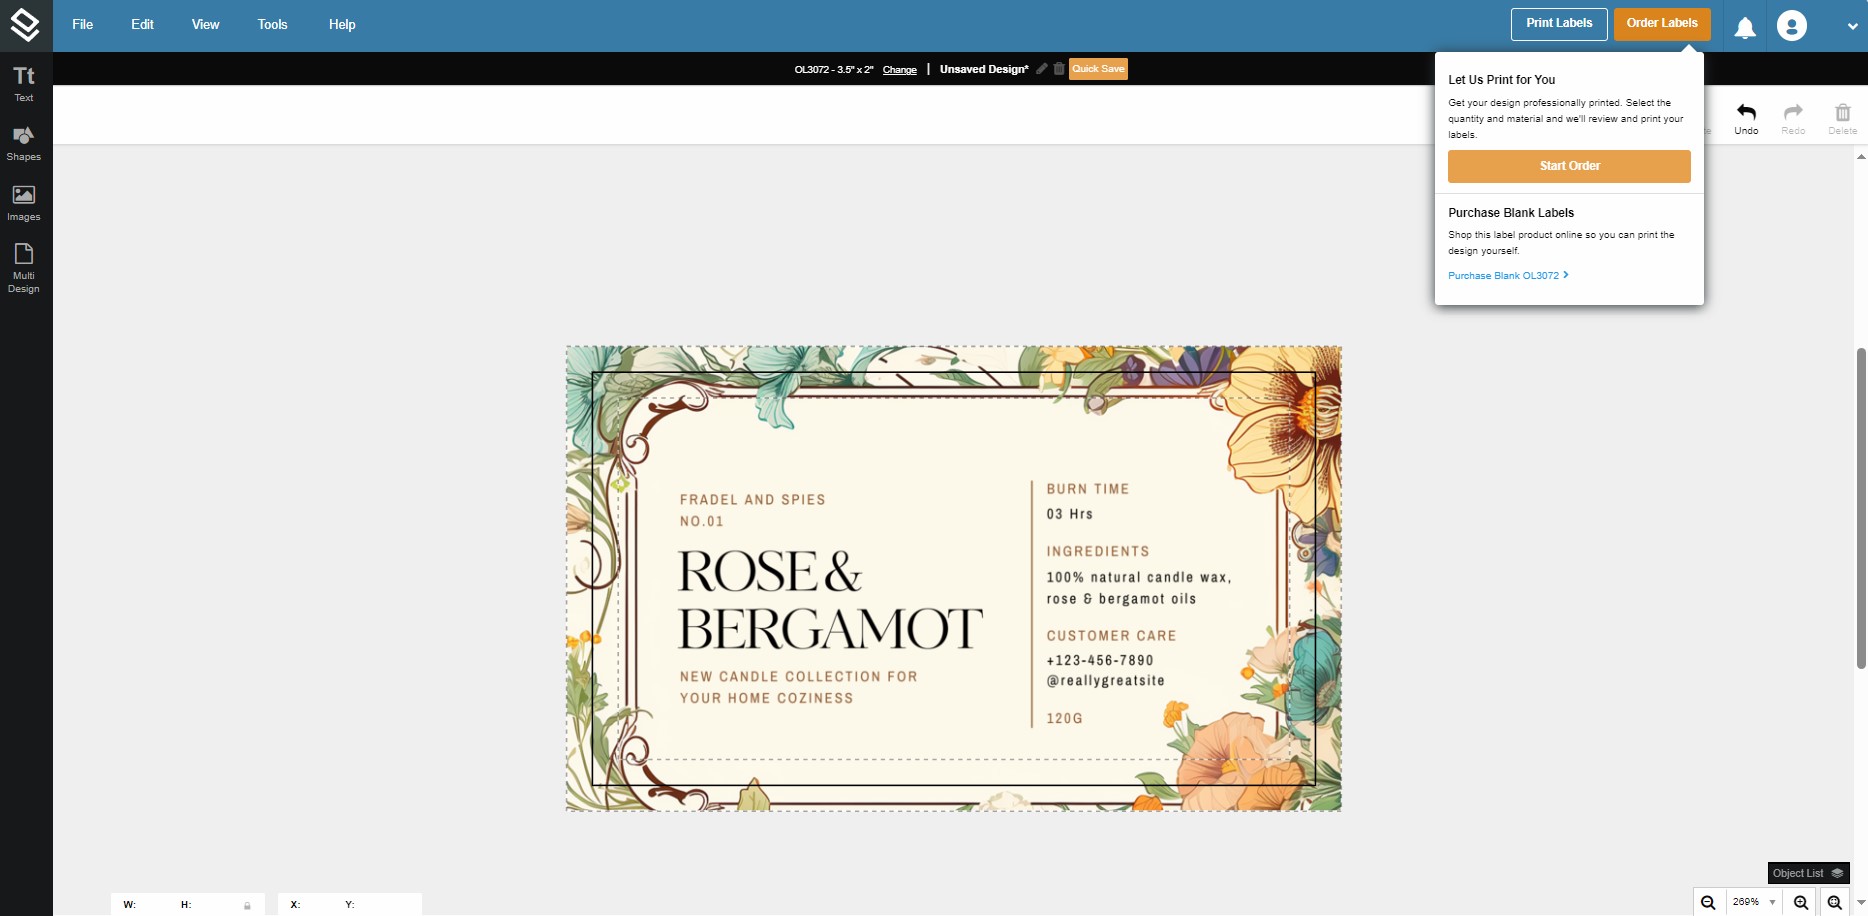
Hover over the Order Labels button and then click Start Order. You'll be able to customize your order for us to print.
6. Printing labels yourself
Click the Print Label button on the top right and Print Now.
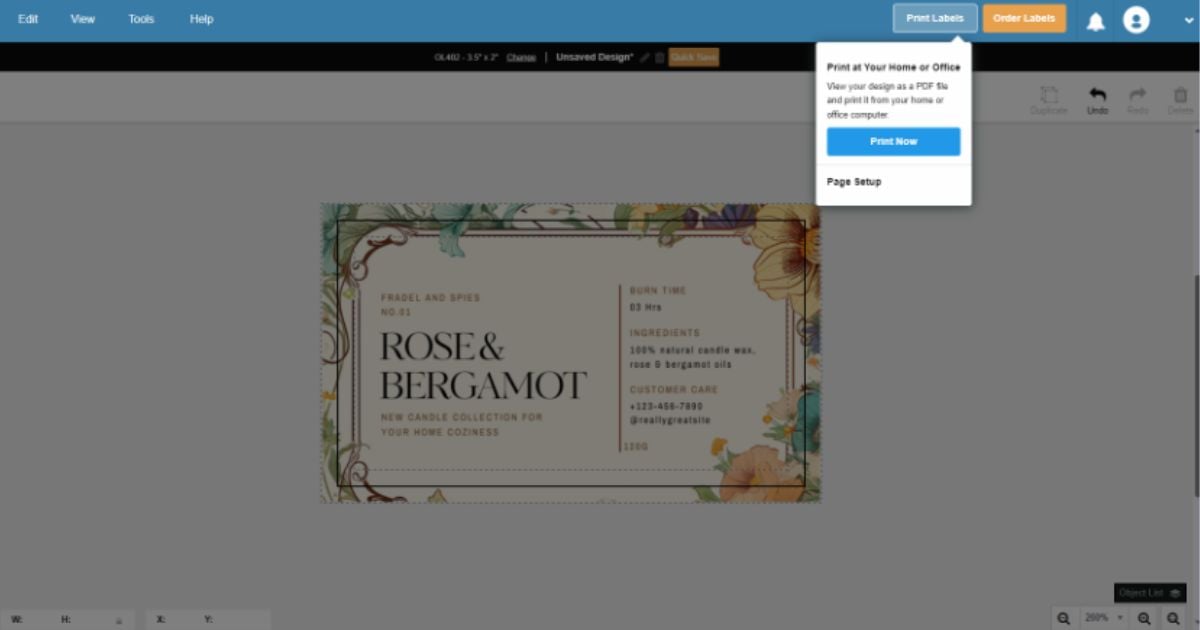
Then, Maestro Label Designer will offer you two options: to download and print your labels using a PDF viewer or to preview and open them directly through your browser.
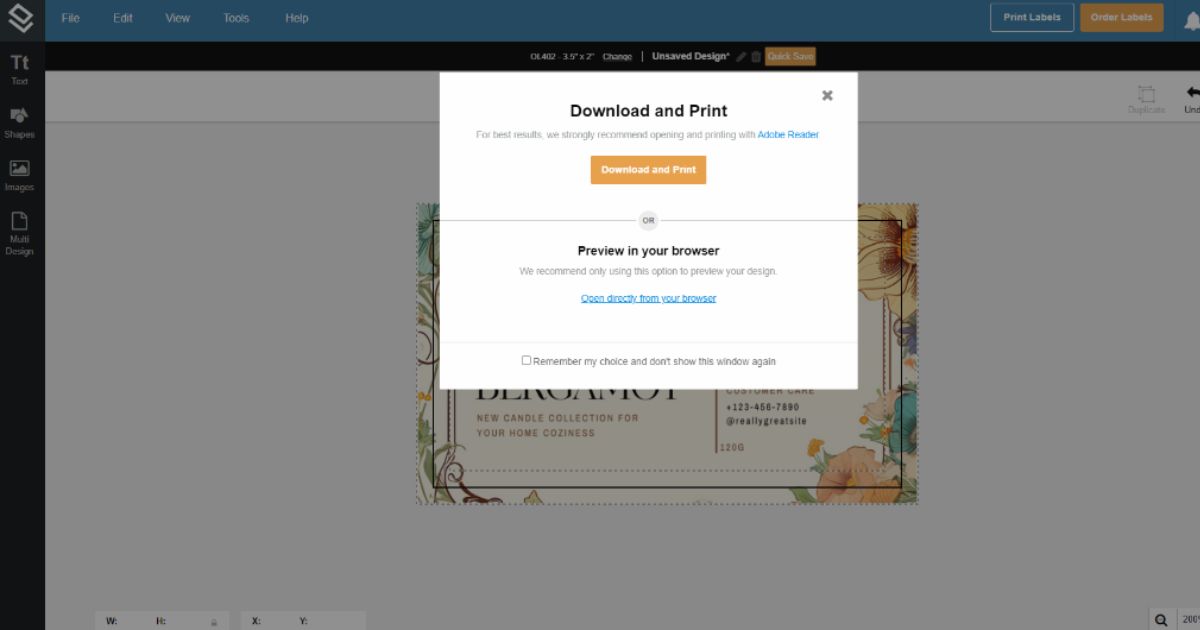
To print your labels, we recommend downloading and opening them with Adobe Reader or a similar program.
From Canva to Maestro Label Designer
Converting a Canva design to Maestro Label Designer is straightforward and allows you to combine the strengths of both platforms. Following the steps, you can easily export your creative designs from Canva and import them into Maestro Label Designer for precise label printing. For more information on how to understand Mastro Label Designer’s features better, check out our guide on how to get started with Maestro Label Designer.
