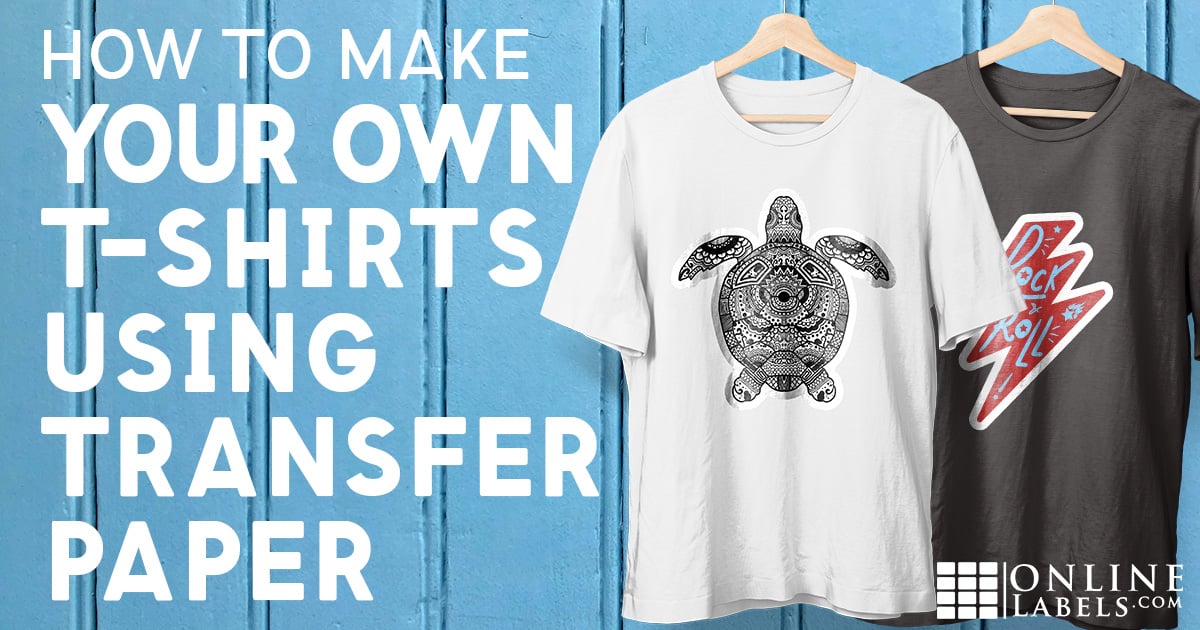
How To Make Your Own T-Shirts Using Transfer Paper

Create custom t-shirts, fabrics, apparel, and more with printable t-shirt transfer paper. Making personalized iron-on transfers can be a fun activity for family and friends or an easy DIY project for small businesses and organizations that want to create branded clothing.
T-Shirt Transfer Supplies
All you need to get started is your iron-on material and an inkjet printer. We offer iron-on transfer paper for dark-colored fabrics.
Store your t-shirt transfer material in a cool, dry area and do not remove it from the clamshell packaging until you're ready to use it.
T-Shirt Transfer Dark Instructions
Follow the instructions below if your destination material is a dark fabric such as black or navy blue.
Note: Dark-colored polyester and nylon garments are not recommended because the dye may migrate into the transfer.
Please use caution when using an iron at hot temperatures. If you are under the age of 18, please seek adult supervision.
- Launch Maestro Label Designer, our exclusive design software.
- Create an account or sign-in and click "Create a New Label."
- Type OL363 into the search bar.
- Design your transfer. Check out our Maestro Label Designer tutorials.
- Review how your printer feeds paper and place your sheets in the tray accordingly (either face-up or face-down). The liner/back of the iron-on sheets has gray lines running up and down it.
- Hit print.
- Trim your design to the desired size. Be sure to leave 1/4" border.
- Set up an ironing table.
- Iron your t-shirt/material by itself first to ensure your design applies cleanly.
- Raise the temperature of the iron to a higher setting to help the ink transfer. Don't use any water or steam.
- Remove the liner from the transfer paper with your design.
- Place your design face-up on the destination material.
- Lay a sheet of parchment paper over top of your design.
- Iron with firm pressure in multiple directions for 90-120 seconds.
- Let cool for 2 minutes.
- Slowly peel away the parchment paper.
Iron-On Use Tips & Wash Instructions
To make the most of your finished products, we recommend washing the designed material once prior to using. To wash your materials, turn the garment inside out and wash in cold water using mild detergent. Do not use bleach. Dry on a low-heat setting and avoid ironing directly on the transferred area.
Our iron-on materials are perfect for logos, designs, and more. Get everybody in your office or organization wearing your custom creations!
For assistance creating your custom iron-ons, please call us at 1-888-575-2235.


