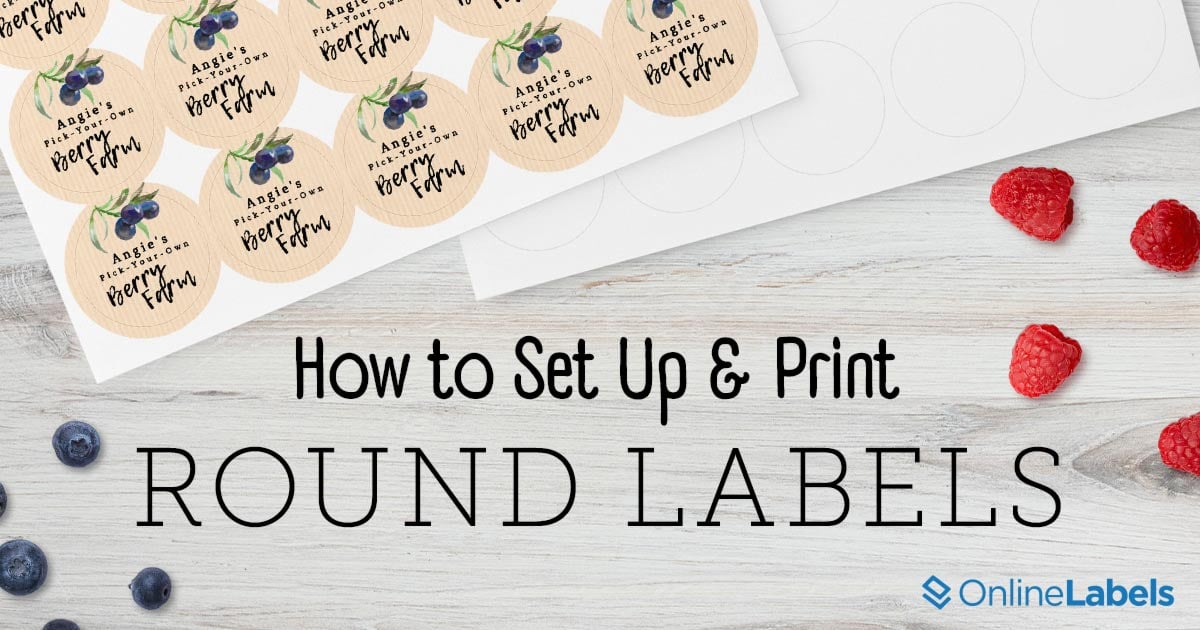
How to Set up and Print Round Labels

Round Labels offer a unique aesthetic that can enhance the visual appeal of products, packaging, and marketing materials. Their versatility, eye-catching shape and adaptability for diverse uses make them a popular choice for all types of businesses.
Let's explore the details of printing round labels—from the reasons to use them, their applications, and setting up artwork—to how to print them yourself and where to order custom round labels for your company.
Why Use Round Labels?
Round labels are a popular choice that offers a clean and polished look for products and complement the packaging or branding. Their shape allows the exterior to attract attention more effectively than other standard shapes, providing a touch of sophistication or fun to label designs. Additionally, round labels can be more practical for certain types of industries like cosmetics, food and beverages and healthcare.
You can check out this guide for more innovative ways round labels can help your branding. From aesthetic appeal to enhanced color perception, round labels can elevate any business brand.
Common Applications of Round Labels
In a crowded marketplace, round labels can help products stand out on the shelf. This shape can be practical for certain uses including:
- Product packaging: round labels provide an additional canvas for showcasing branding elements such as logos, taglines, and brand colors. This helps reinforce brand identity, which is essential for products in cosmetics, food and beverage, pharmaceuticals, among others.
- Marketing and promotions: the unique shape of round labels can feature key branding elements such as logos, brand colors, and taglines, helping to reinforce brand recognition and even create logos for special occasions like giveaways and promotions.
- Home and office organization: the distinguished form of round labels can ease organization of items such as folders, files, storage boxes, etc. This increases organization and aesthetics of home and office spaces.
Setting Up Artwork for Round Labels
The key to successful round label printing is in the artwork setup. Here's how to ensure your design is print-ready:
- Choose the right software: Use professional design programs like Maestro Label Designer or Adobe Illustrator. These programs offer tools for creating and editing graphics effectively, offering a wide selection of tools and functionalities.
- Create a circular canvas: draw a circle on the document using the shape tool or ellipse tool. The circle would represent the printable area of the label.
- Design your artwork: design the label artwork within the circular canvas. Include elements such as text, images, logos, graphics, and background colors according to branding and design preferences. Ensure that the information is placed on the center to avoid getting cut off during printing.
- Keep elements in the safe zone: the safe zone is the space inside the cutting limits of the design. Extend any background colors, images or graphics beyond the circle and ensure that there are no white borders after the labels are cut.
- Resolution and color mode: set the document’s resolution to at least 300 DPI (dots per inch) to ensure high-quality printing. Also, choose the appropriate color mode for your design—CMYK for print projects to ensure accurate color reproduction.
- Proof and adjust: before finalizing the artwork, check that all text and double-check the design layout. Save the artwork file in a format that preserves its quality and compatibility with printing software. Common file formats for print-ready artwork include PDF, EPS, or AI (Adobe Illustrator).
- Submit artwork to printer: once the document is saved, submit the file to your chosen label printer.
Printing Round Labels Yourself
Printing round labels requires a precise preparation to ensure that the labels are aligned correctly and printed accurately. Here’s a step-by-step guide to printing round labels:
- Select the correct label sheets: purchase label sheets that are compatible with your type of printer. You can watch this video to learn more about the difference between laser and inkjet printers. Ensure the label size matches the dimensions of the design.
- Prepare the design: using the graphic design software, make sure the design is set up correctly within the dimensions of the label sheet. Include all necessary elements such as text, images and graphics.
- Adjust printer settings: in the computer settings, select the appropriate paper and adjust the print quality settings as needed. Ensure that the paper size matches the dimensions of the selected label sheets.
- Print a test page: before printing the labels, print a test page on a regular paper to check the alignment and quality of the design. Make any necessary adjustments to the printer settings or format depending on the test print.
- Proceed to print the rest of the design: once the first printing page is correct, print the rest of the label sheets according to the design.
- Allow labels to dry: after printing, permit the labels to dry completely before handling them. This helps prevent smudging or smearing of the ink.
Ready Results Using Round Labels
Round Labels can significantly boost the appeal and professionalism of your products or projects. Whether you print them at home or order from a professional service, the key is in meticulous design preparation and understanding the nuances of label printing. With this comprehensive guide, you're on your way to creating eye-catching round labels that will effectively serve your needs.
Ordering Custom Round Labels for Your Business
Ordering custom round labels from professional printing services is a practical choice for businesses requiring high volumes or specialized materials. OnlineLabels offers custom label printing services where you can upload your design, choose from a variety of materials, specify sizes, and order in bulk.


