How To Use Clear Labels as an Over-Laminate for Stickers and Labels
Self-laminating your stickers and labels is a great way to give them extra durability and protection against smearing, tearing, and heavy handling. Not to mention, it’ll add a shiny finish to your sticker and labels, giving them a professional look!
It’s easier than you may think with our self-laminating sheets, and in this article, we’ll walk you through how to do it!
Gather Your Materials
First, gather your materials. You’ll need:
- Your stickers or labels. Once you have your design, pick a material, and print your design on a full sheet label. You can also have us print them for you. Any material would work well to laminate, but we recommend one that features an aggressive adhesive for the most durable stickers and labels (our top recommendations are Weatherproof Matte Inkjet, Clear Gloss Laser, and Weatherproof Polyester Laser)
- Self-lamination sheet(s)
- Squeegee (we like this one), or credit card
- Electronic cutting machine, or scissors to hand cut
That’s it!
The Method
Remove the top sliver of liner for easy peeling.
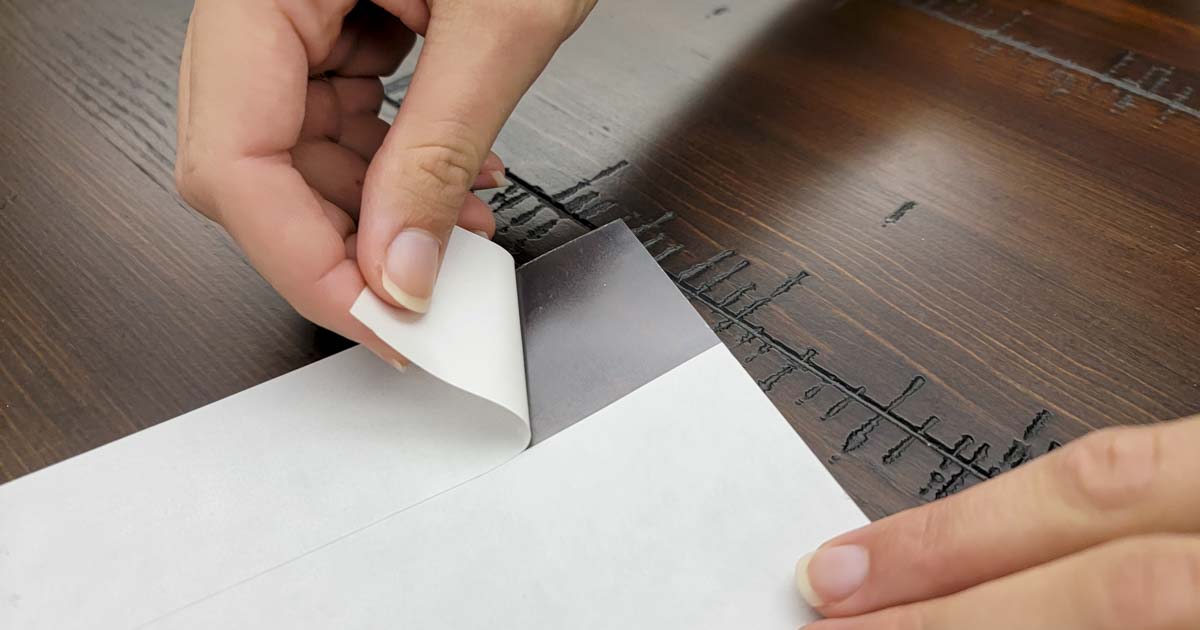
Attach the laminate to your label sheet on one end, and slowly peel the liner back and smooth the laminate down as you go. You really want to take your time on this, and make sure you’re smoothing down thoroughly to prevent air bubbles as much as possible.
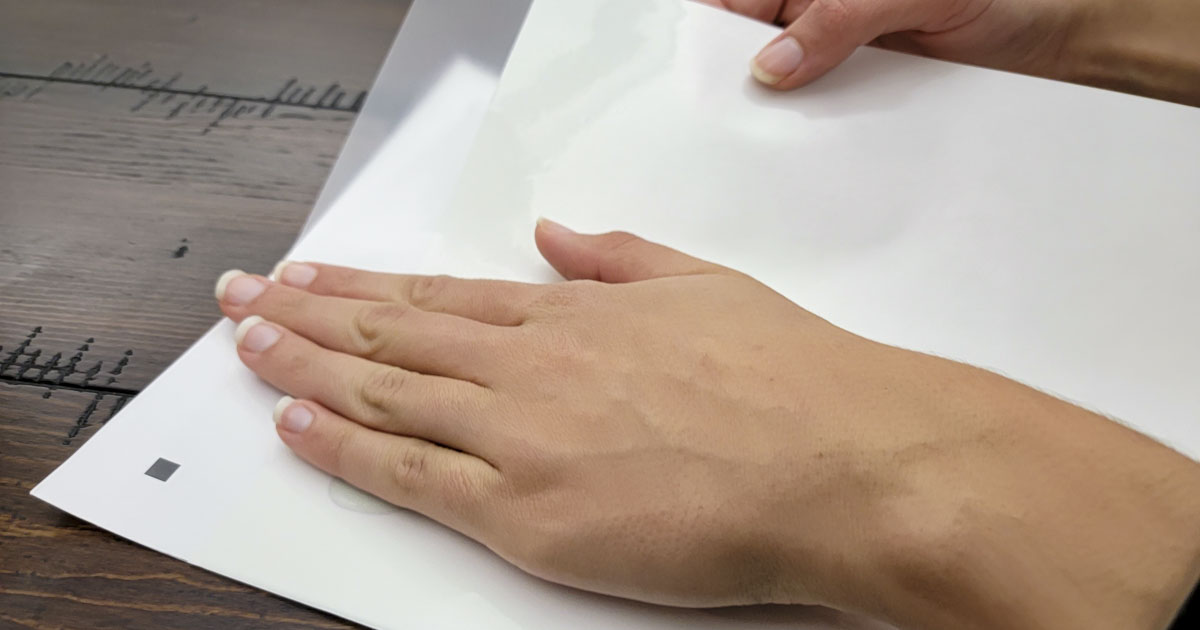
Once the laminate sheet is in place over your stickers or labels, use a squeegee or credit card to smooth out any bubbles that snuck in there.
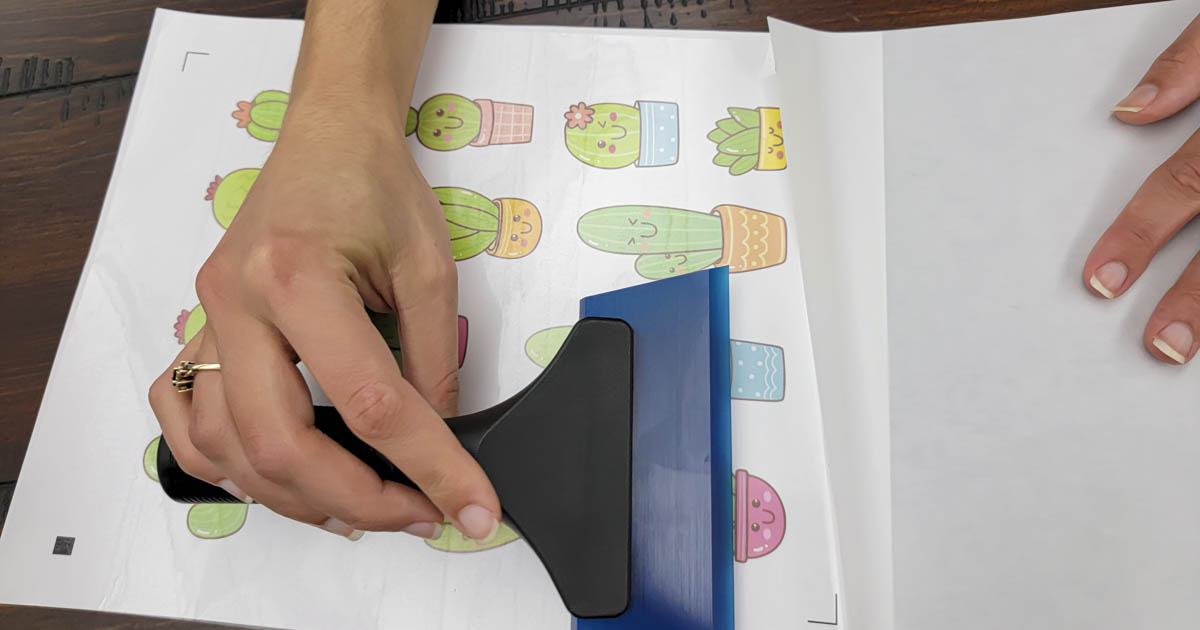
Your stickers or labels are now ready to cut! Hand cut them with scissors, or if you’re using an electronic cutting machine, make sure you increase your cut settings depth to account for the extra laminate layer.
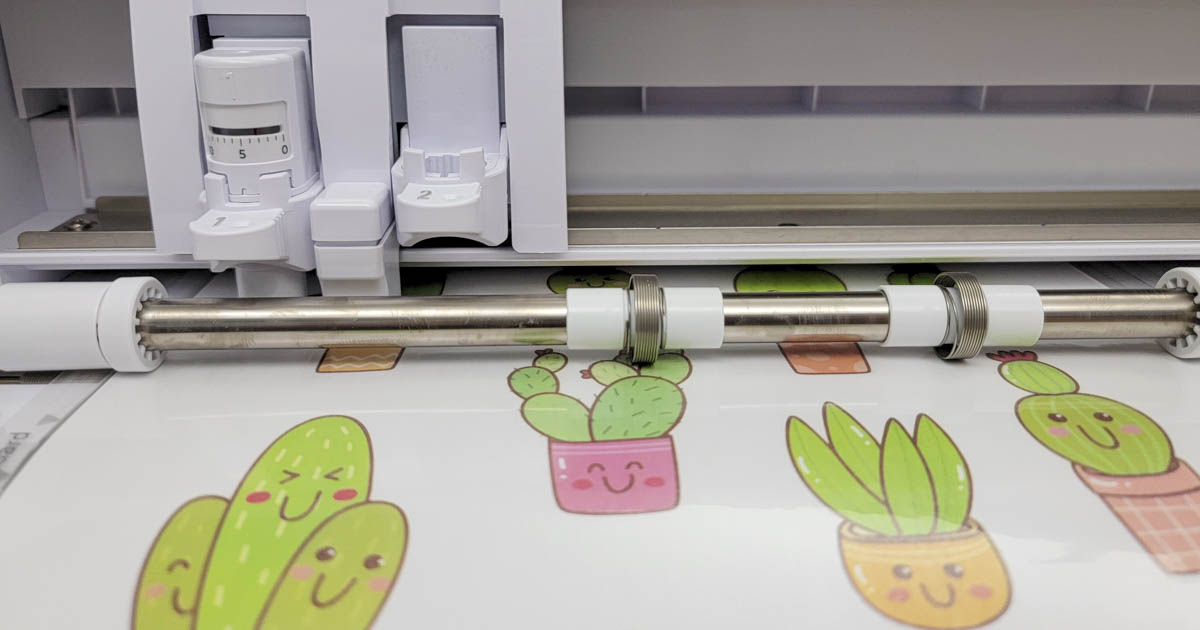
Tip: If your electronic cutting machine is having trouble registering the glossy laminate, try placing a piece of clear matte tape over the registration mark.
Bonus method: If you want to laminate die-cut stickers or labels, you can purchase a blank label template in Clear Gloss Laser to place over your labels. Just make sure that the laminate labels are the same shape, and a slightly larger size. For example, using 1.2" circles as laminate for 1" circle labels.
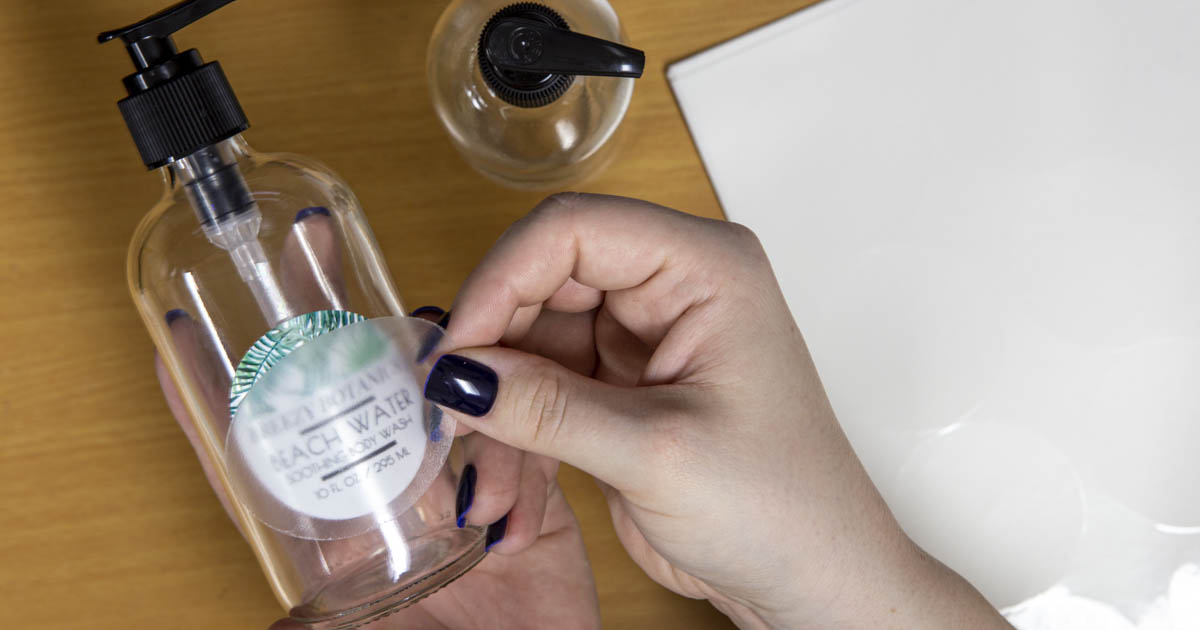
If you go with this method, you would have a ring of the clear laminate around your labels. Keep in mind that this method is not good if you’re making stickers or labels to sell, and is best for one-offs, or for personal use like kitchen organization, and stickers that are already on a surface.
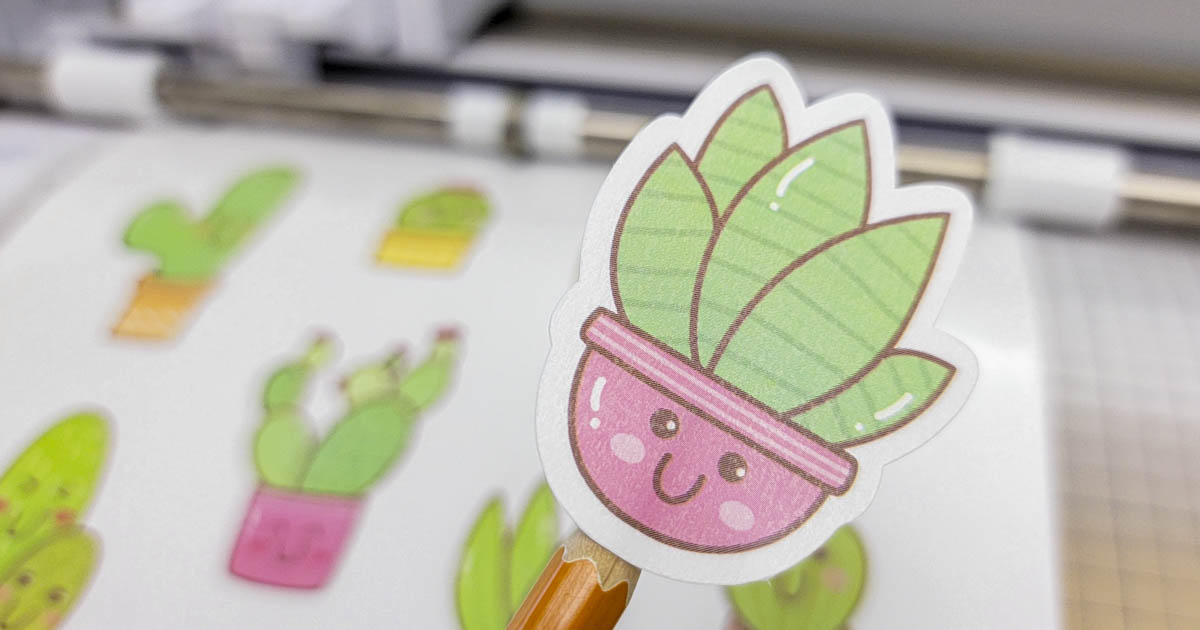
We hope you consider adding extra protection and shine to your stickers or labels with our self-laminating sheets.
For more tutorials and resources, check out our library of label articles.


