How To Print Multiple Designs & Partial Sheets Using The Multi-Design Tool
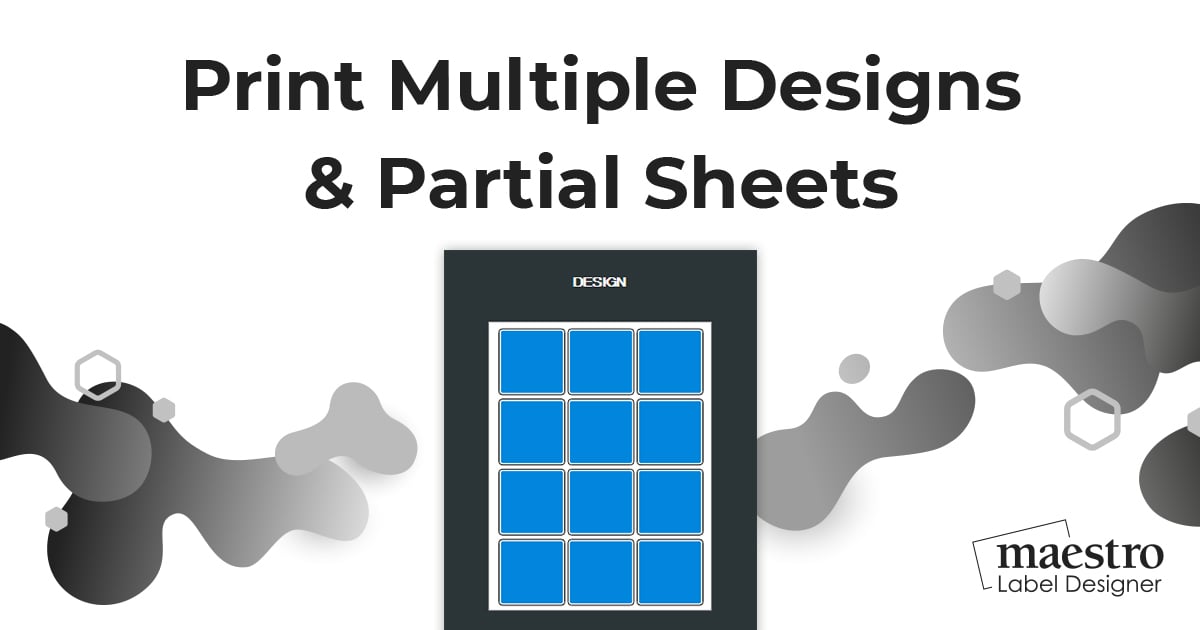
With Maestro Label Designer, you can designate which labels will receive your printed design using the Multi Design tool. We've outlined the simple process below to get you started.
Note: Partial printing will not work for label configurations with multiple shapes.
Watch on TikTok
Step 1:
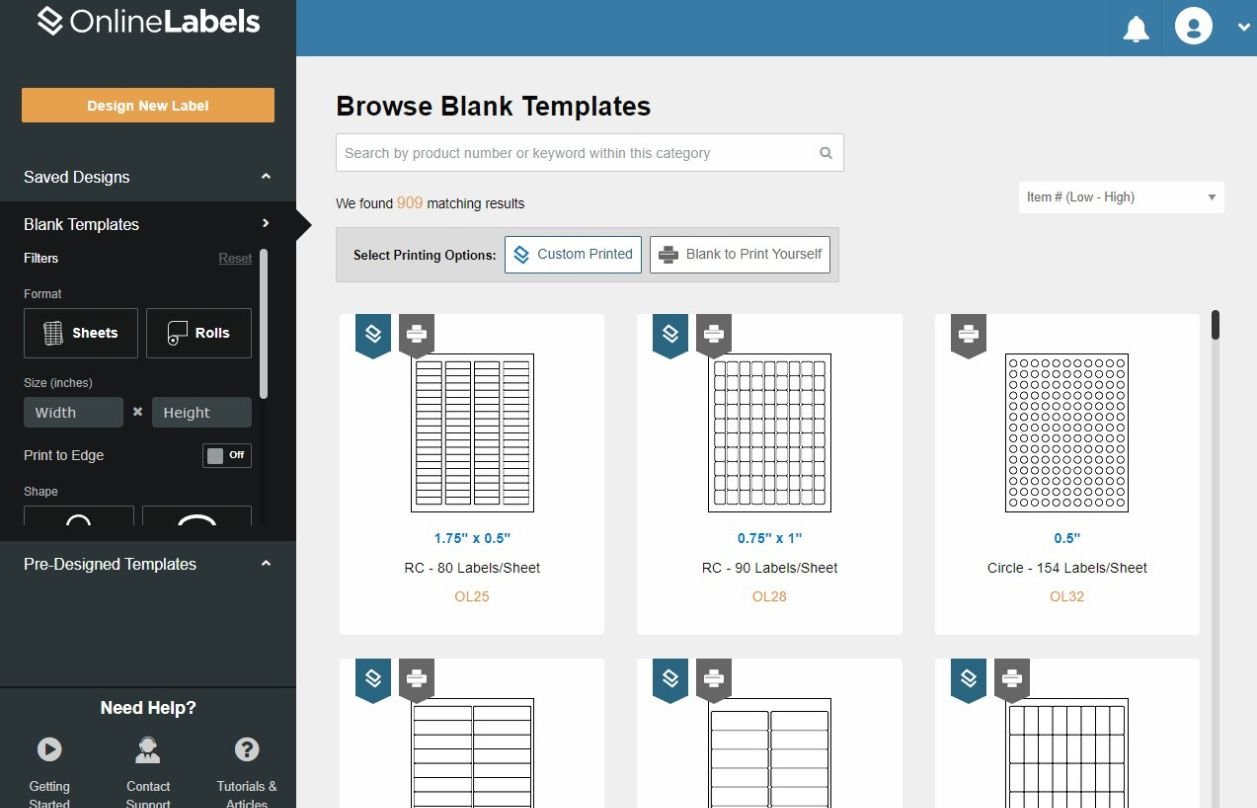
After launching Maestro Label Designer, you can choose to design a label from scratch or find a pre-designed template from our database. Pick the one that applies to you and start designing.
Step 2:
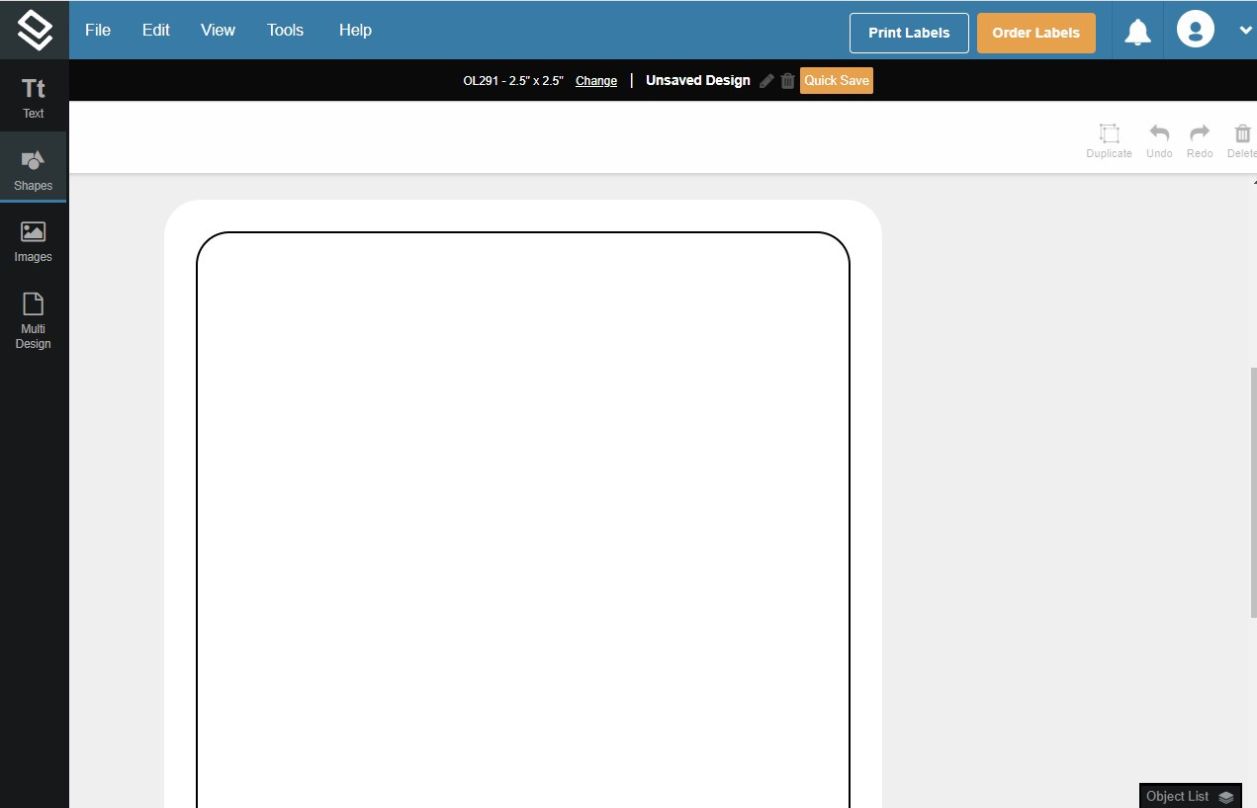
Now's the fun part. You can use all of Maestro Label Designer's tools to create your personalized design.
When you're all done, click the "Multi Design" tab at the bottom of the toolbar to your left.
Step 3:
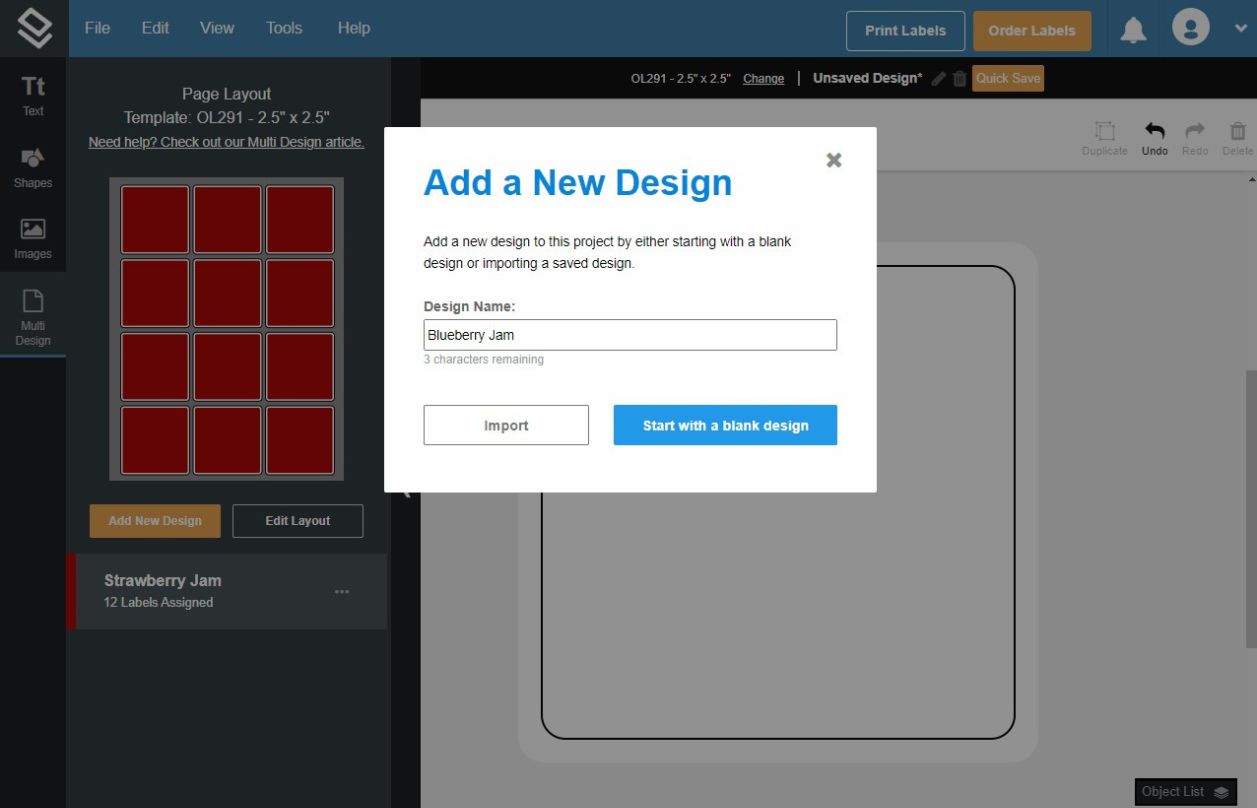
Click "Add New Design" under the label template.
You'll have the option to either import a design you previously created and saved, or to start with a blank label and design from scratch.
Step 4:
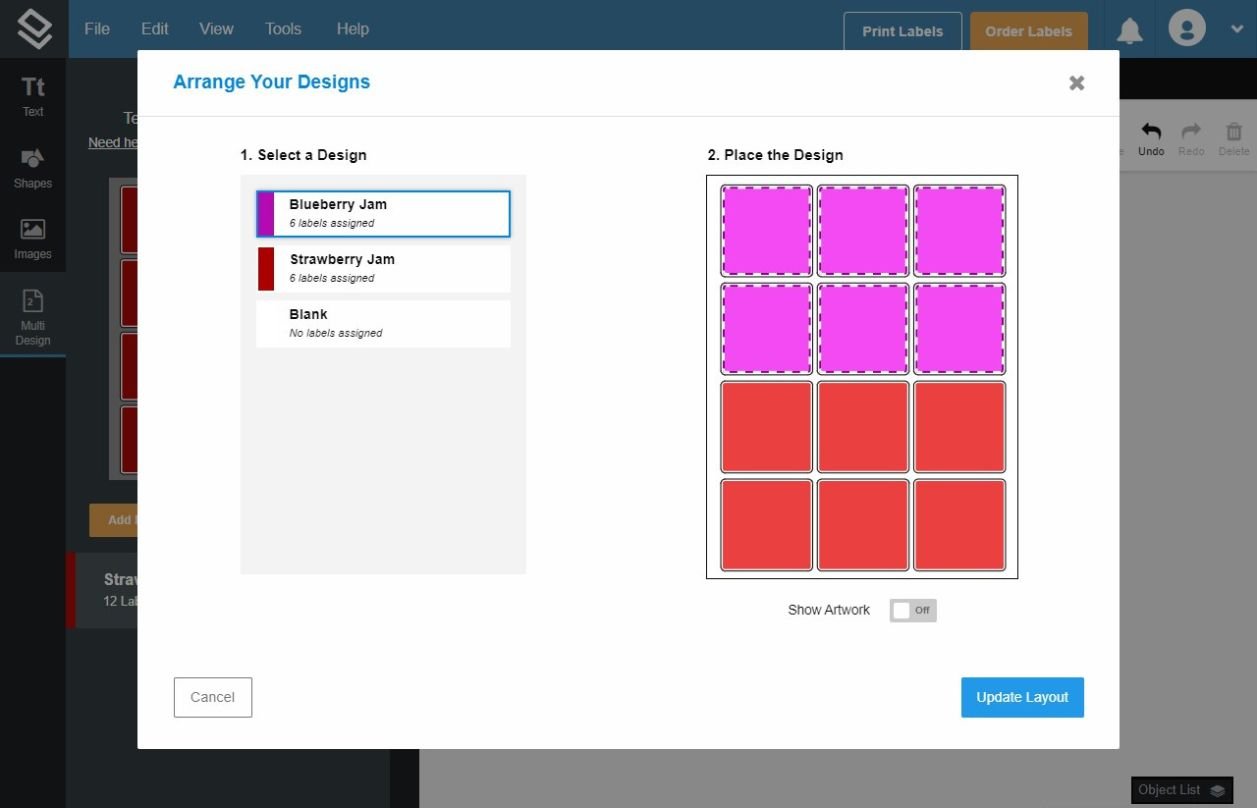
Here, you can select the labels you wish to adopt the new design or stay blank. The labels in red represent the labels that will feature the design you just created. Each label that you click will change to green which represents your new design. Click "Update Layout" when you're finished.
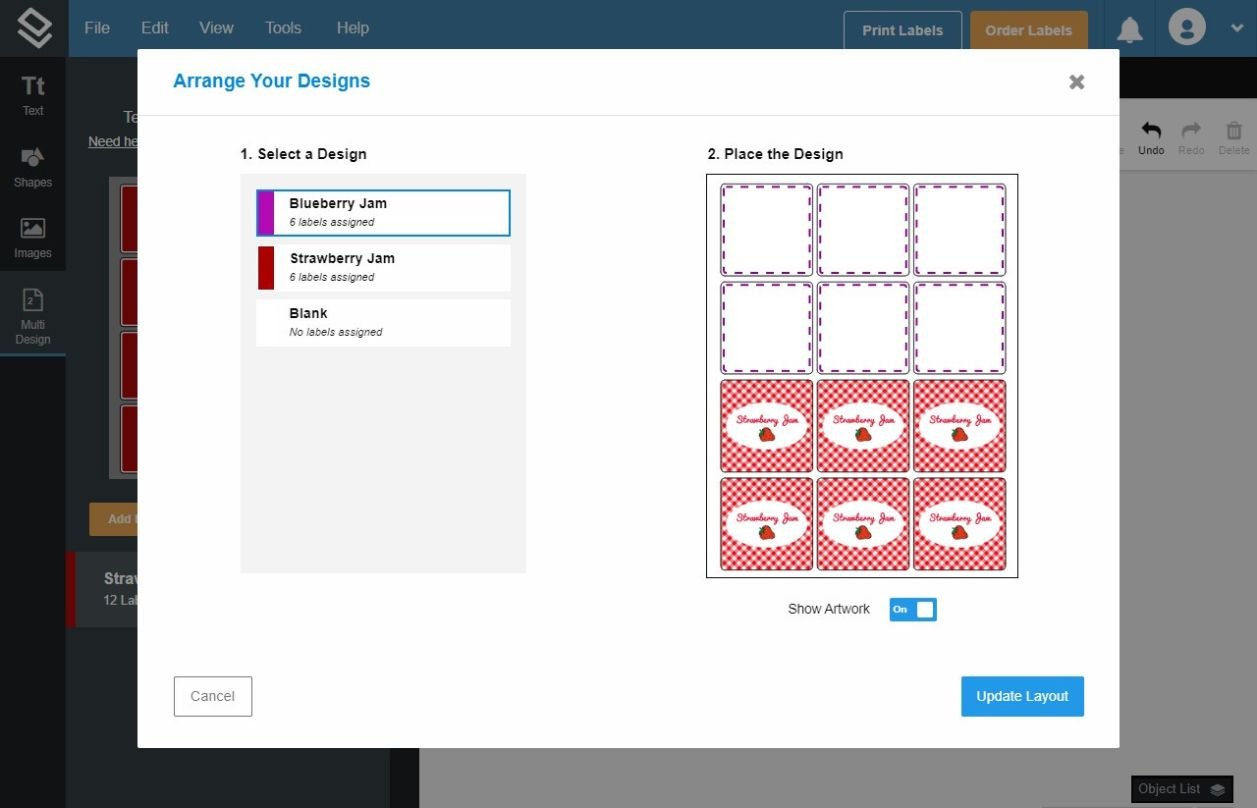
Switch the "Show Artwork" button to "On" if you want to visualize how your design(s) will realistically look on the label sheet.
Step 5:
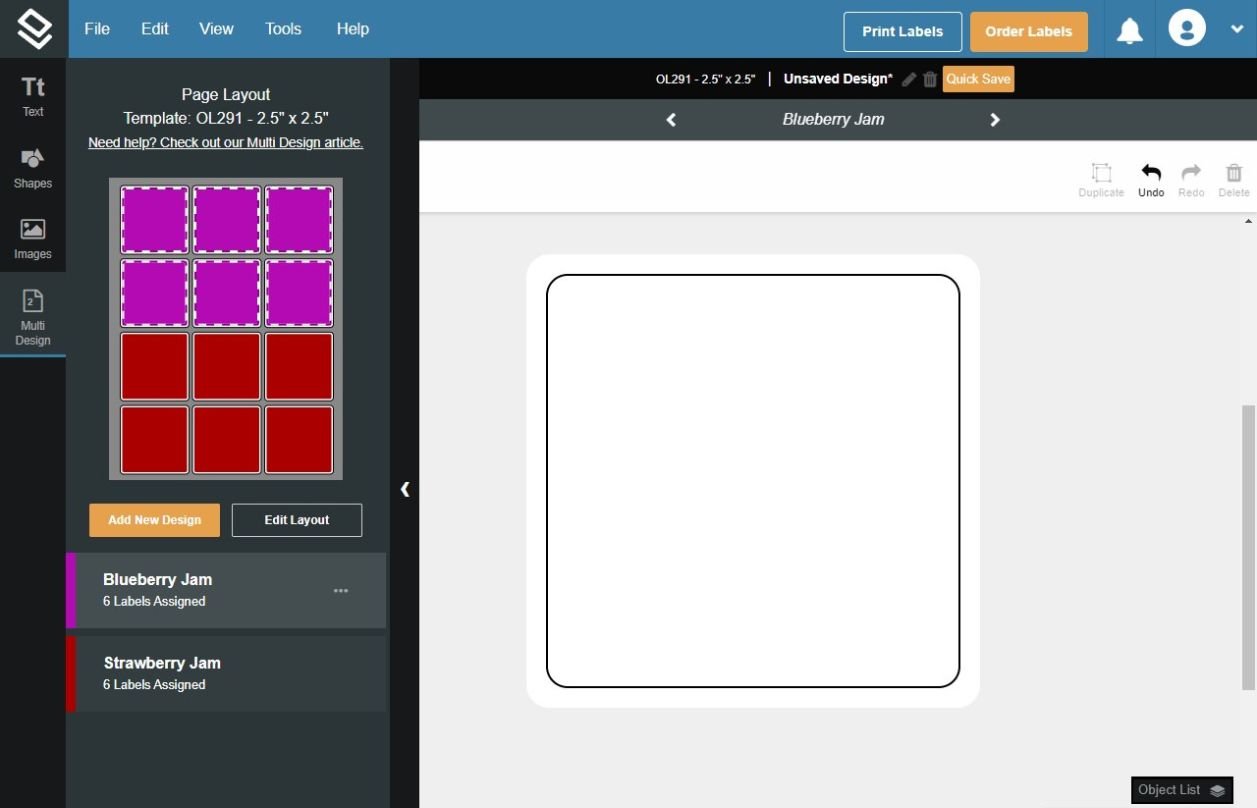
You should now see a new label with no design. Design your second label on this template, or if you're partial printing, leave blank. Repeat as many times as desired.
Your designs are color coded in the sidebar and you can also click and drag to rearrange the multi design list in the sidebar for easy organization.
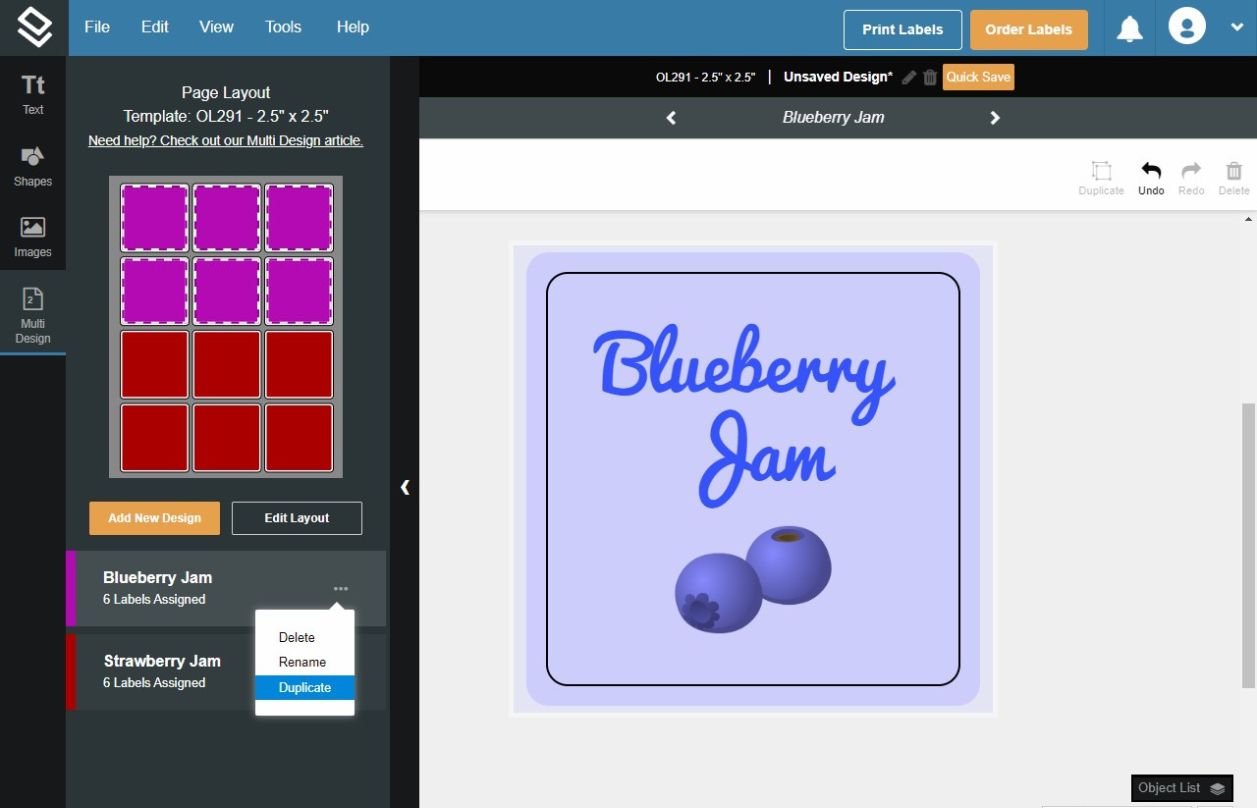
If you want to duplicate a design, click on the elipses next to the design you wish to copy, then select "Duplicate." From here, you'll go through the same process of naming the new design, assigning it to labels on the sheet, then selecting, "Update Layout."
Step 6:
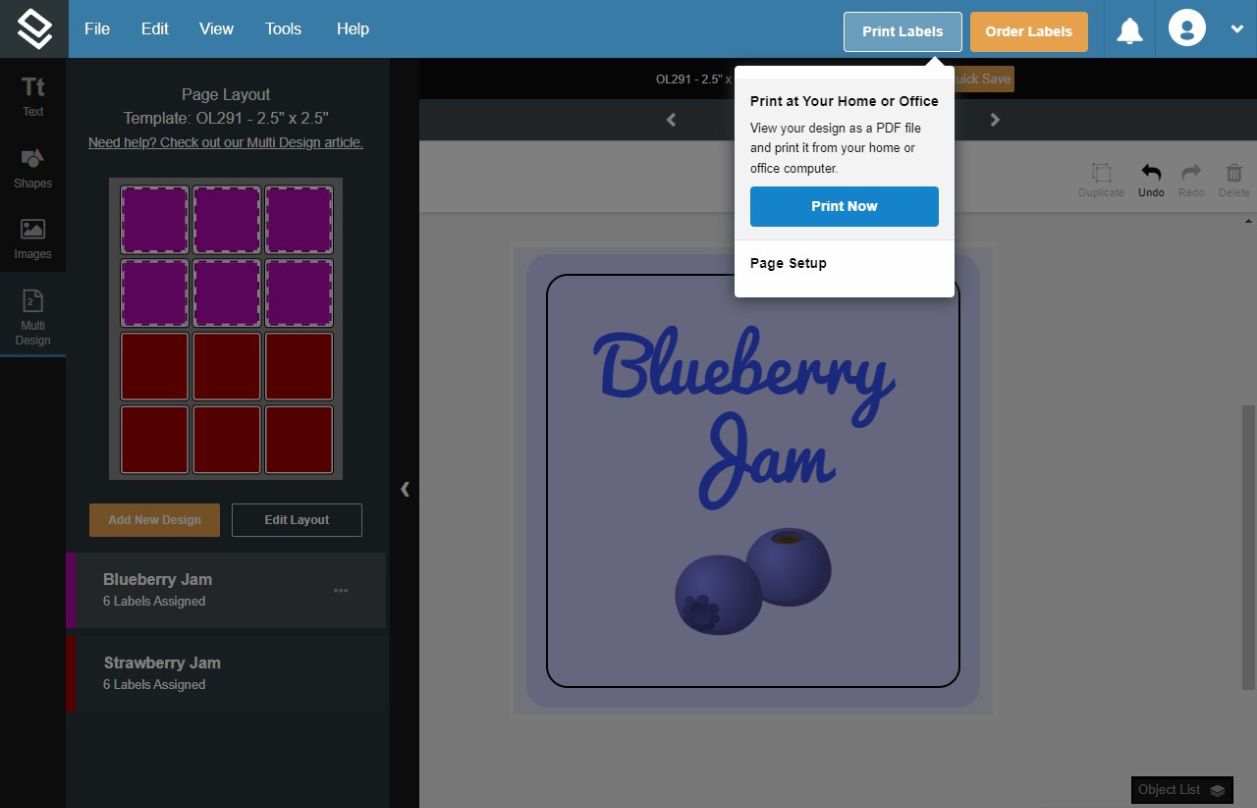
Click the print icon on the top right corner of Maestro Label Designer, "Print Now," and then "Download and Print".
If everything looks correct in your preview, you're ready to print.
Looking for more Maestro Label Designer tips? Browse all of our how-to's and articles in our Maestro Label Designer support section today!


