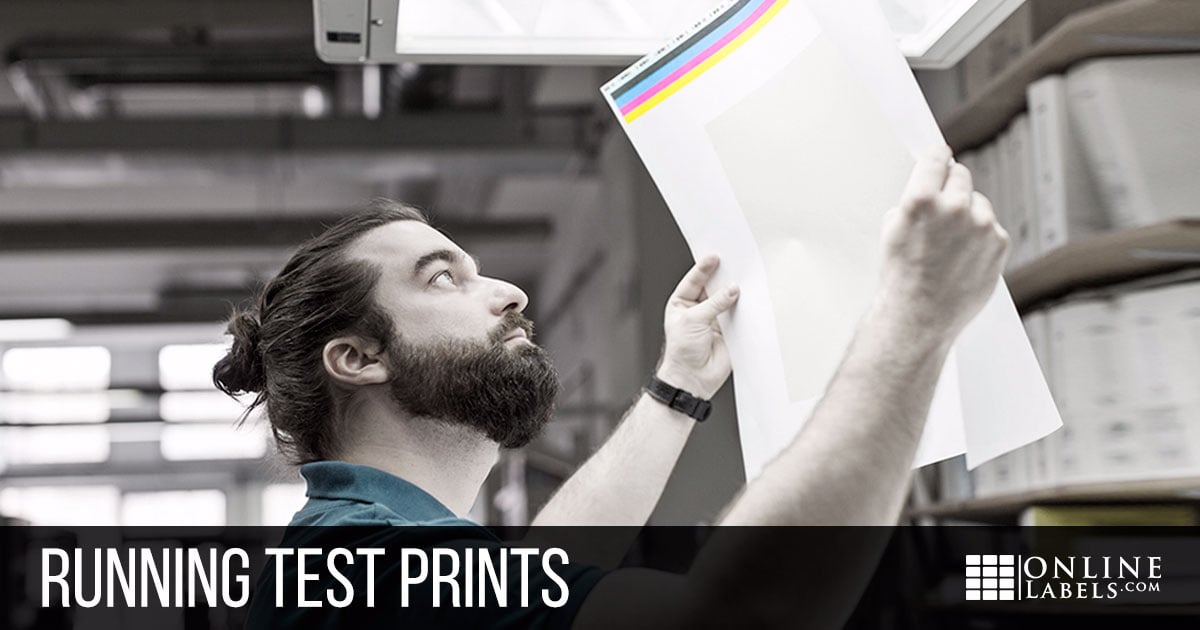
How to Test Print Your Label Designs

Before you print a full batch of labels, you may want to conduct what we call a "test print." Printing a few samples before running through your label inventory could save you from some costly mistakes down the road. Walk through these eight steps when reviewing your test prints for perfect labels every time.
1. Check for typos
We can get so caught up in the copywriting, design, and printing process that we forget to take a hard look at the actual words on the label. Plain old word misspellings can be easy to miss when you're not explicitly looking for them.
Homophones are a big one to look out for (words with the same pronunciation but different meanings) – like your/you're and there/their/they're.
2. Proof for grammar
There are dozens of words and phrases that can be mixed up and incorrectly used. Revisit your apostrophe usage so you don't confuse "it's" with "its."
You may also want to double check any idioms and sayings to make sure they're accurate and applicable ("all intensive purposes" is actually supposed to be "all intents and purposes," for example).
3. Double-check font spacing
Do the letters or words on your label run together and look scrunched up? Is the spacing the same between your header, subhead, and body copy? Little catches like these can help with the professional-appearance of your brand.
4. Compare colors
Some designs look great on the computer screen but fail on paper. What's a pretty yellow on-screen could be a mustard color once printed. Printing out your design will make sure that your color choices hold up.
5. Peel it off the sheet
Printer shifting happens to the best of us. You want to make sure that if any vertical or horizontal shifting occurs, you won't lose any critical design elements or copy. On the flip side, you don't want any unprinted edges either.
The best way to check for this is to peel your label off its liner. There should be enough space inside the label perimeter and your text/design that nothing will get cut off (in the industry, this is called the safe zone). You should also have enough design left on the liner sheet so your labels are fully covered (this is called the bleed).
6. Apply it
Set up your application station like you will for the real deal. You want all the conditions to be the same to ensure consistency across various print runs. Once your labels are on your intended surface, conduct the following tests:
Confirm you're using the right label material
Clear labels work best on clear or light-colored products/packaging, for example. You'll know right away if your label material works with the characteristics of your packaging.
Triple check that you chose the right size and shape labels
You don't want your labels to hang off the side of your product or for it too look too small on the packaging.
Hold your product arm's length away
Fonts that look legible on a computer screen could be hard-to-read or illegibly small in-use.
7. Let it sit
Once the label is applied to your product, container, or packaging, see how long it holds. The specific surface material or curvature of the container, for example, can change how your label performs over a period of time. Certain uses may require a stronger adhesive while others may not.
8. Put it to use
See how the label performs during use. You want to know how it'll hold up through shipping, work in the use-environment, and represent your product and brand.
Testing how it looks on camera isn’t a bad idea in this step either, if you're an ecommerce shop or big on social media!
If you’re happy with the results above, you’re ready to print your labels with confidence. If you have some questions, reach out to our customer service team. They can help make recommendations or troubleshoot any issues. Call us at 1-888-575-2235 or send us an email.


